Measure, make a simple pattern, cut washable fabric, sew, fit, and finish.
If you want to learn how to make chair slip covers, you’re in the right workshop. I’ve sewn more slipcovers than I’ve had coffee refills, and that is saying something. I’ll show you a simple, proven path with clear steps, pro tips, and a few jokes to keep your seam ripper from crying.
What Is a Slipcover and Why Use One?
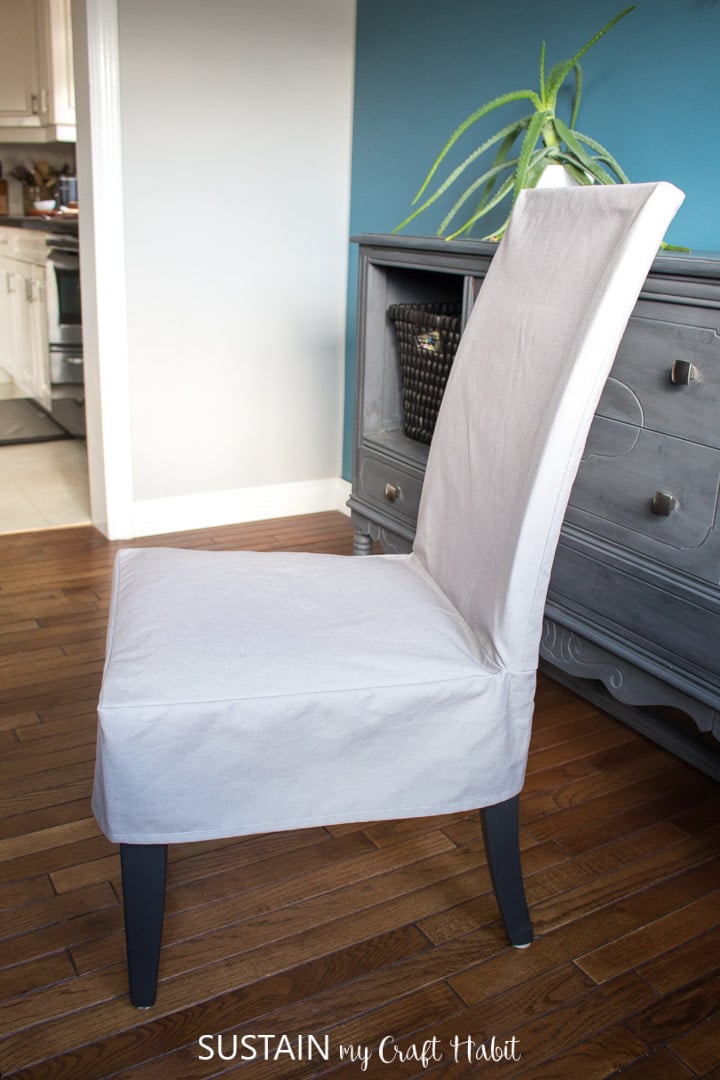
A slipcover is a removable fabric cover that hugs your chair. It hides stains, protects the frame, and lets you change the look fast. It is like a phone case for your chair, except it also survives spaghetti night.
Slipcovers offer quick style, easy washing, and budget wins. They are ideal for rentals, kids, pets, and anyone who likes to swap styles with the seasons. The only catch is fit. Good measuring and a steady plan make the magic happen.

Tools and Materials You’ll Need
You can keep this simple. Use tools you trust and fabric that behaves. Here is a kit that works well.
- Measuring tape, ruler, and fabric chalk or washable marker
- Paper for patterns, masking tape, and scissors for fabric and paper
- Straight pins or fabric clips
- Sewing machine with a universal needle size 12–14 and thread to match
- Iron and ironing board for pressing seams
- Seam ripper, because we are human
- Fabric: medium-weight cotton, twill, duck cloth, denim, or performance stain-resistant blends
- Optional extras: zipper, hook-and-loop tape, buttons, ties, piping cord for welting, bias tape
- Safety gear: finger guards if you have them, and a calm playlist
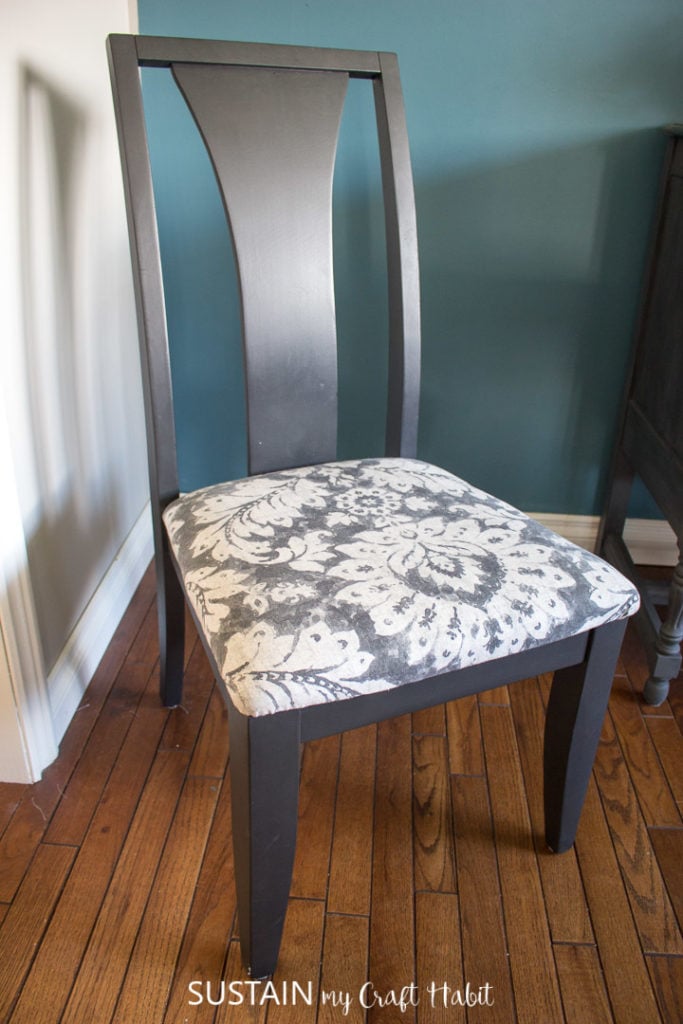
How to Measure Your Chair Like a Pro
Before you jump into how to make chair slip covers, measure your chair well. Write numbers down. Measure twice, sew once, celebrate always.
- Measure width. Note seat width at the front and back. Chairs can taper like a sneaky triangle.
- Measure depth. From the seat front edge to the chair back. Sit test for comfort.
- Measure height. From seat to floor for skirts, and from seat to top of back.
- Measure arms if you have them. Check height, width, and length.
- Add seam allowance. Add 0.5–1 inch around all edges. Add more if you love extra room.
- Note features. Check for decorative carvings, curves, and any protrusions that need extra fabric.
Drafting a Simple Slipcover Pattern
If you are learning how to make chair slip covers, start with a basic pattern. You can drape fabric on the chair or use paper pieces. Both work.
- Paper method. Tape large sheets together. Trace seat, chair back, and sides using your measurements. Mark grainlines so pieces don’t twist.
- Drape method. Use cheap muslin or an old sheet. Pin the fabric to the chair. Draw seam lines with a washable marker.
- Label. Write seat, inside back, outside back, arms, and skirt. Mark notches where pieces meet.
- Add seam allowance. Add 0.5–1 inch around all pattern edges. Add hem depth at the bottom.
- Test fit with muslin. Pin and try on the chair. Tweak curves and corners now, not after cutting prized fabric.

Cutting and Prepping Your Fabric
Prepping sets you up to win. This is the part where future you says thanks.
- Prewash and dry fabric the way you will launder the slipcover. This reduces shrink shocks later.
- Press the fabric flat. Smooth fabric cuts better and sews straighter.
- Place pattern pieces on grain. The long edge should run with the fabric length for strength.
- Cut with sharp scissors or a rotary cutter. Mark notches, darts, and center lines.
- If making piping, cut bias strips now. Bias helps curves lie flat.

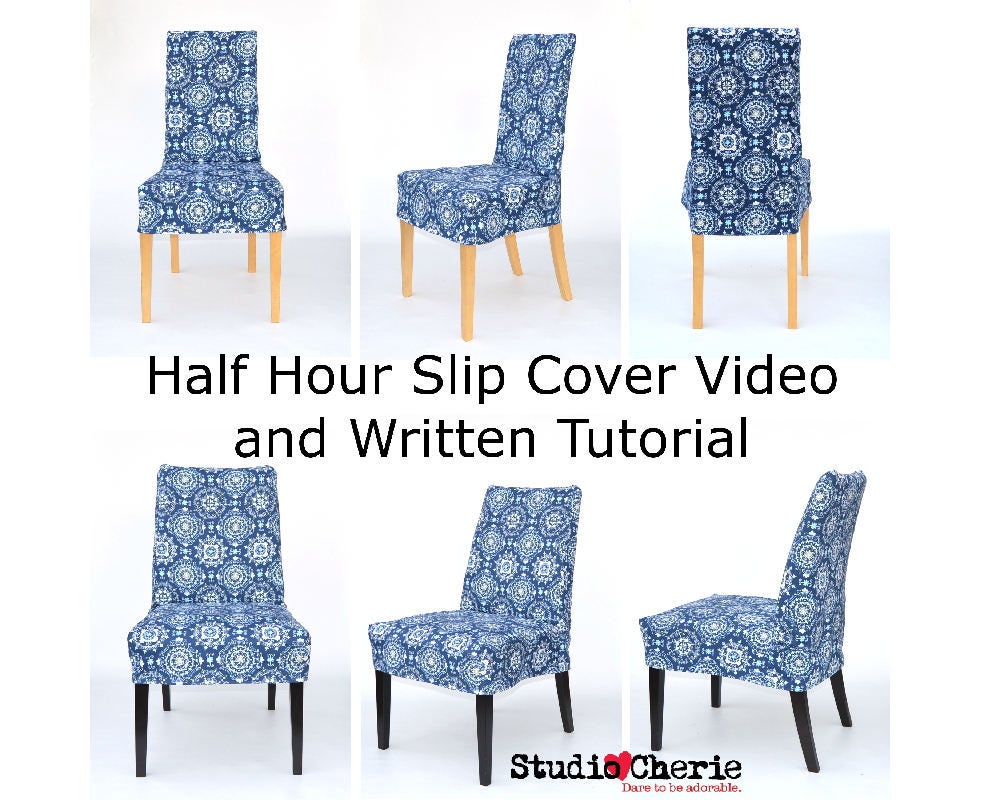
How to Make Chair Slip Covers: Step-by-Step Sewing
Here is the clear path for how to make chair slip covers that look store-bought. Keep seams even. Press as you go. Your iron is the secret hero.
- Start with the seat. Sew front to side panels if you have a boxing strip. Press seams open.
- Attach the inside back to the seat. Pin from center out. Sew slowly over curves.
- Add arms or side panels. Keep corners neat. Clip seam allowances on tight curves.
- Join the outside back. This is the “jacket” that closes it all. Leave the center back open if you plan a zipper or ties.
- Add closures. Install a zipper down the back, or use hook-and-loop tape, buttons, or ties.
- Attach the skirt if you want one. Keep it even with the floor. Use a small hem weight if your fabric is very light.
- Finish edges. Serge or zigzag raw seams to resist fraying.
- Hem. Try the slipcover on the chair. Mark the final hem while it is on. Press and stitch.
- Optional piping. Insert piping into key seams like seat and arms. It adds a crisp, pro look.
After this, try the slipcover on, do a happy dance, and check the mirror. Okay, check the chair. Then fix small wobbles with a quick nip here or a tuck there.
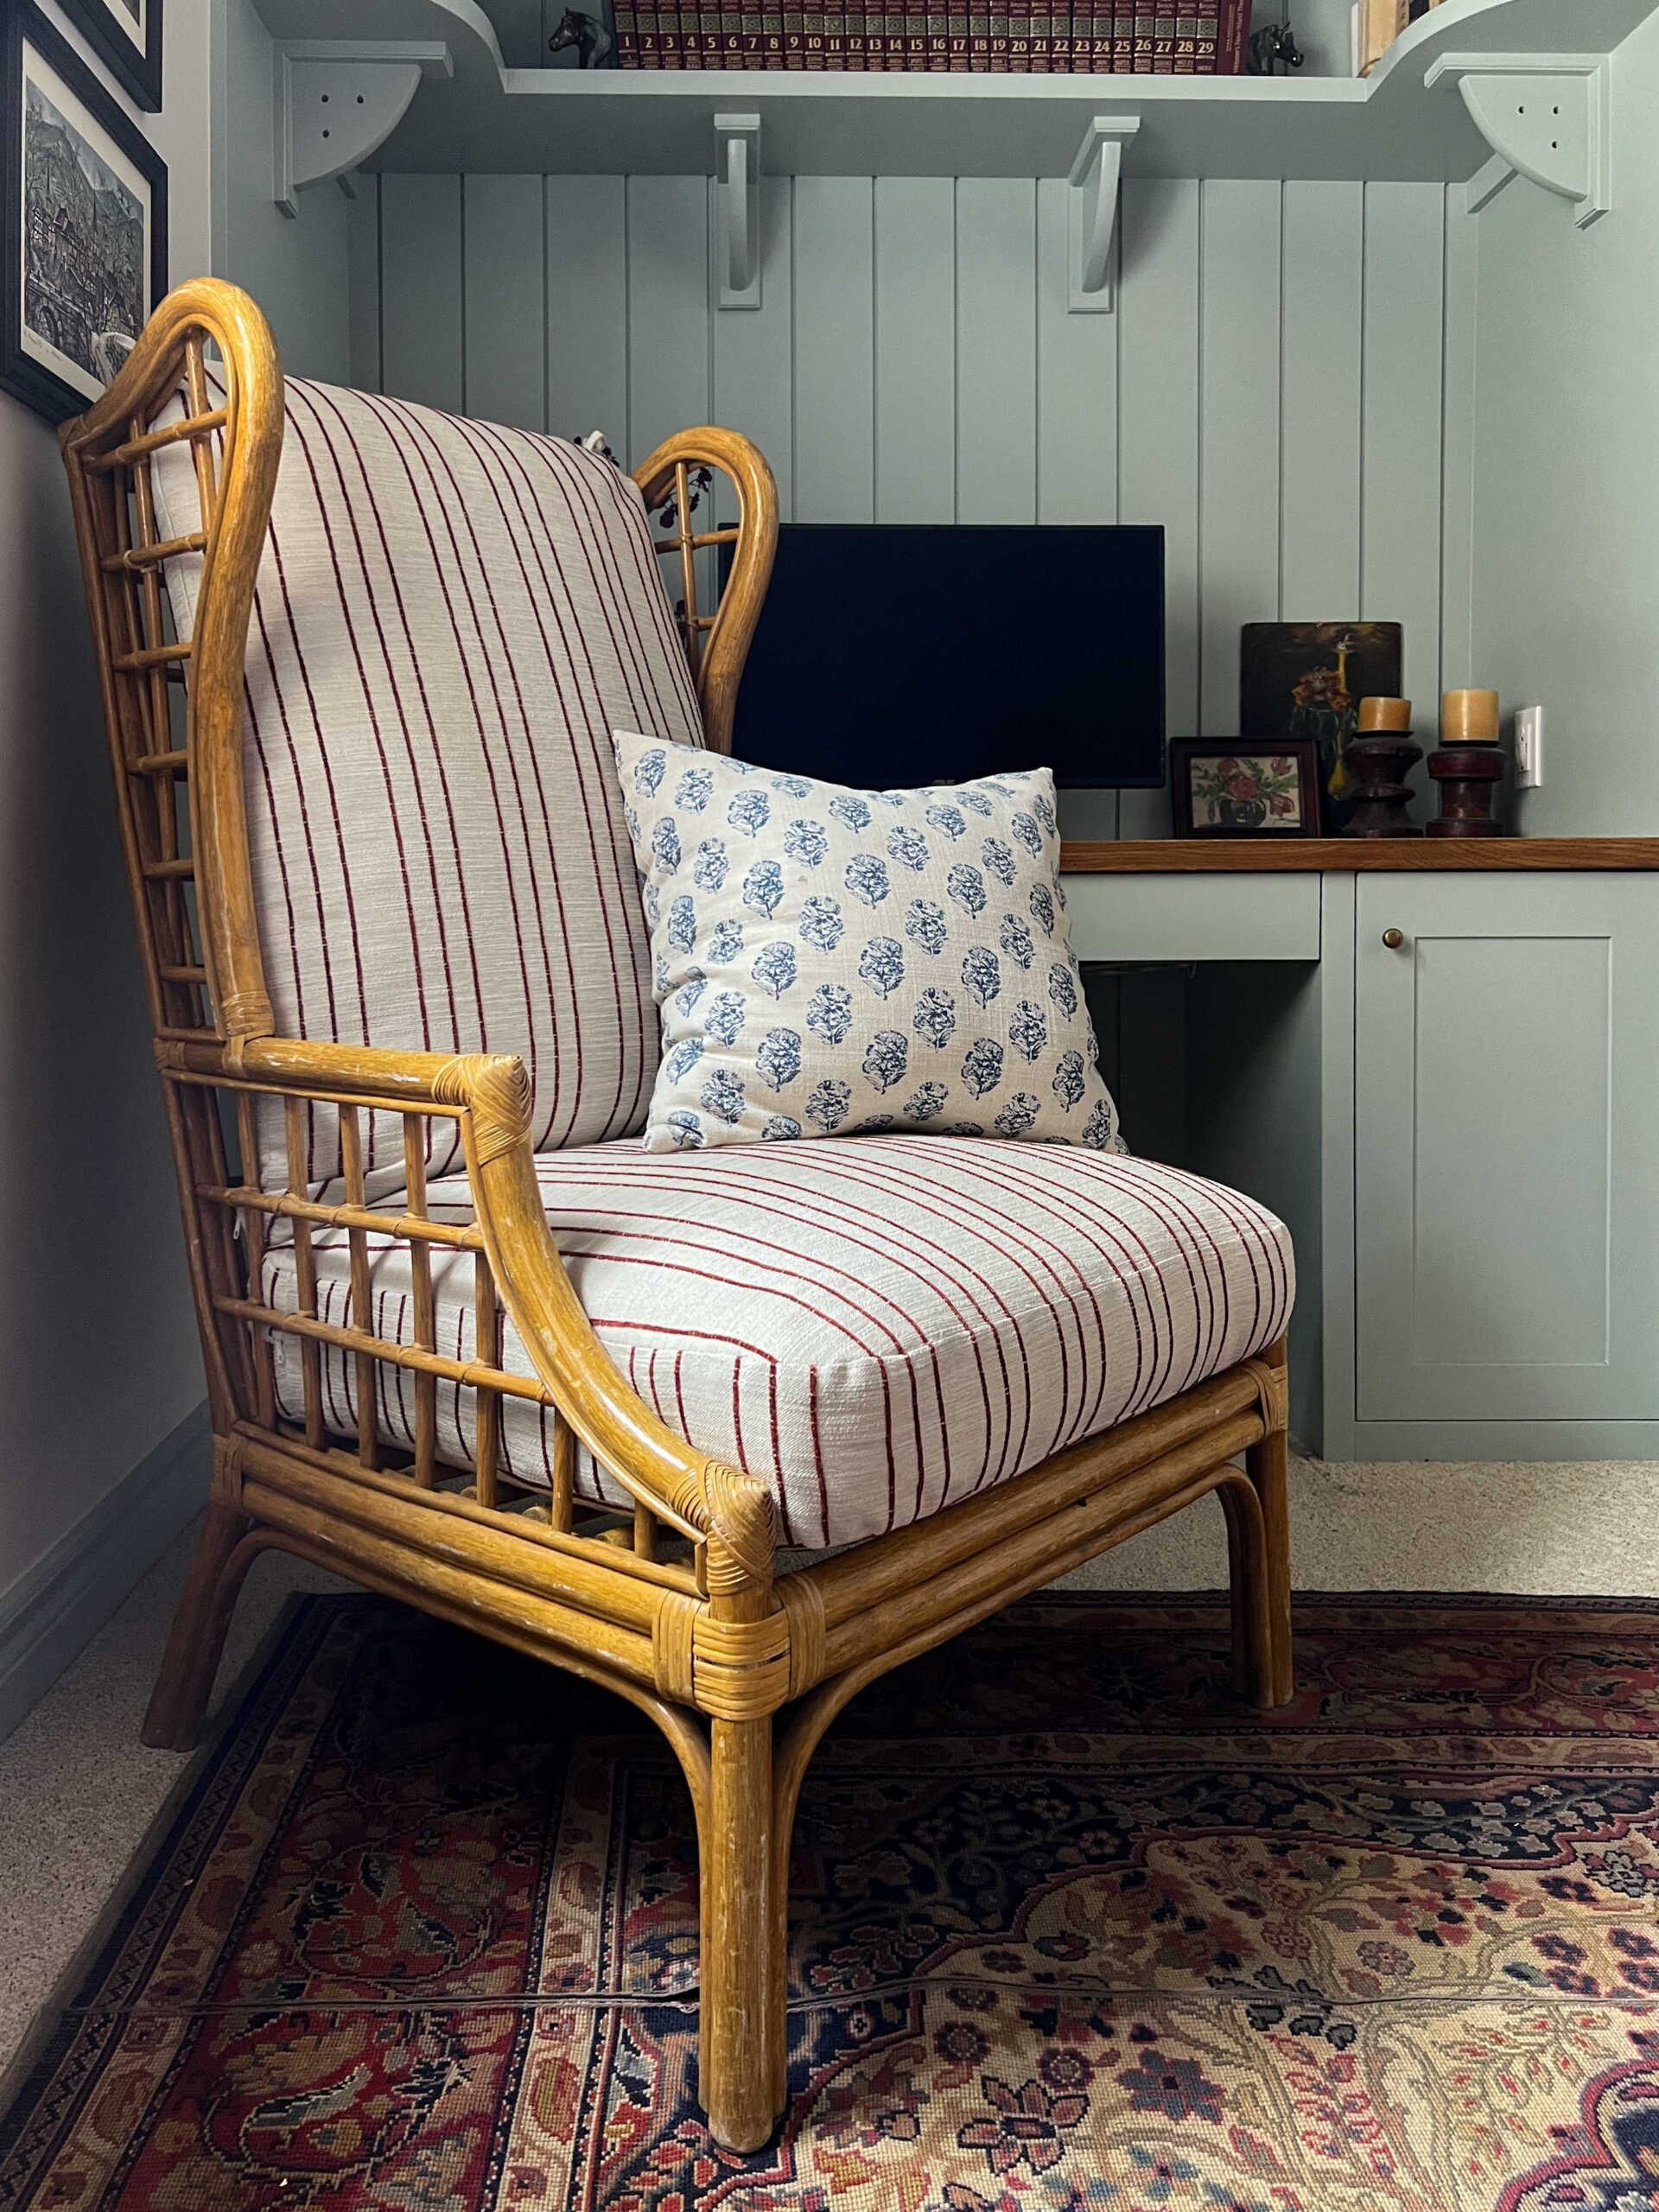
Style Options, Skirts, and Closures
This is where you add flair without drama. While you explore how to make chair slip covers, style is the fun part.
- Tailored fit. Clean seams, crisp corners, and sharp hems.
- Relaxed fit. Softer edges, fewer seams, gentle drape.
- Skirt styles. Straight skirt, box pleats, knife pleats, or a flirty ruffle for cottage charm.
- Closures. Invisible zipper at center back, side zippers, buttons with loops, or hook-and-loop tape.
- Piping or welting. Contrast color adds a custom look and hides minor wobbles.
- Fabrics that flex. Stretch twill or poly blends forgive tiny fit errors and resist wrinkles.
Fitting, Adjustments, and Troubleshooting
One reality of how to make chair slip covers is that fit takes tiny tweaks. Do this with patience and pins. Your chair will not post a bad review.
- Gaping at corners. Clip seam allowances a bit more and press. Add a dart if needed.
- Baggy seat. Take in the side seams by 1/8 inch at a time. Re-press and test.
- Skirt too long. Mark the hem while on the chair. Press and stitch a clean new hem.
- Slipping. Add gripper pads under the seat or sew on ties to anchor the cover.
A quick story. I once rushed a dining chair set the night before guests. The skirts all sighed onto the floor like melted ice cream. I fixed it fast by re-hemming with a wider hem and adding a little interfacing at the corners. Lesson learned: measure with the chair on a flat floor, not your dreams.
Care, Maintenance, and Longevity
Part of how to make chair slip covers that last is care that fits the fabric. Treat it like a favorite shirt.
- Wash on gentle, cold water, mild detergent. Test for colorfastness first.
- Air dry or tumble low. High heat is the wrinkle boss and the shrink king.
- Spot clean sooner rather than later. Blot, do not rub.
- Press seams. A quick iron pass renews shape in minutes.
Budget, Fabric Choices, and Sustainability
Another question in how to make chair slip covers is what to buy and how much. Here is a simple guide.
- Yardage. Most armless dining chairs need 2–3 yards at 54-inch width. Armchairs can need 4–7 yards.
- Fabric feel. Cotton twill or duck cloth is sturdy. Denim is tough. Performance fabrics repel stains.
- Save money. Use thrifted curtains, drop cloths, or end-of-bolt deals. Wash and test first.
- Go green. Natural fibers breathe well. Durable fabrics lower waste because you replace less often.
Common Mistakes to Avoid (and How I Learned)
I have the seam ripper scars to prove these points. Read this before you stitch.
- Skipping prewash. Shrinkage will undo your best fit. Always prewash.
- Ignoring grainlines. Off-grain cuts twist after washing. Stay on grain.
- No test fit. A five-minute muslin test saves hours later.
- Rushing corners. Clip and press. Then sew. Corners reward patience.
- Skirt guesswork. Mark hems on the chair. Gravity rules the final length.
When you map out how to make chair slip covers, aim for steady steps, not speed. Slow is smooth. Smooth is fast.
Frequently Asked Questions of how to make chair slip covers
Can I make a slipcover without sewing?
Yes, you can use fabric, safety pins, and tight tucks for a quick cover. For a better hold, add fabric tape or hook-and-loop strips under the seat.
How much fabric do I need for a dining chair?
Most armless dining chairs take 2–3 yards of 54-inch wide fabric. Big backs, skirts, and patterns with repeats may need more.
What fabric is best for kids and pets?
Choose heavy cotton twill, denim, or a performance stain-resistant blend. Darker colors and small prints hide crumbs and fur like champs.
Do I need a zipper?
No, but a zipper makes on-and-off easy and the fit snug. Ties or hook-and-loop tape also work and are simpler to sew.
Will one slipcover fit different chairs?
Only if the chairs are very close in size and shape. For best results, draft each cover for each chair.
Can I add piping as a beginner?
Yes, start with the seat seam only. Use a zipper foot and go slow around curves.
How do I match patterns like stripes or plaids?
Cut pieces with the pattern aligned at key seams like the seat front. Add extra yardage for matching and mark centers before sewing.
What if my slipcover keeps sliding?
Use gripper shelf liner under the seat or add discreet ties. A snug boxing strip around the seat also helps.
How long does it take to make one?
A simple dining chair can be done in 2–4 hours. An armchair with a skirt and piping can take a weekend.
Is how to make chair slip covers hard for a beginner?
Not if you keep the design simple and test with muslin first. Short sessions and clear steps make it friendly.
Conclusion
You now have a complete plan for how to make chair slip covers that fit well, look sharp, and survive real life. Measure with care, test your pattern, press as you go, and tweak the fit with calm hands. Small wins build to a custom, polished cover you will be proud to show off.
Pick one chair, gather fabric you like, and try the steps today. Share your results, ask questions, and subscribe for more hands-on sewing guides and easy home upgrades.