Disconnect battery, unbolt seats, undo clips or hog rings, and peel covers carefully.
If you want to learn how to remove factory seat covers without breaking a clip, setting off an airbag, or inventing new words your kids shouldn’t hear, you’re in the right place. I’ve removed hundreds of OEM covers in shops and garages, and I’ll show you how to remove factory seat covers step by step with simple tools, real-life tips, and a few laughs. Stick with me and you’ll save money, avoid mistakes, and give your seats a clean slate for new upholstery or a deep wash.

What Factory Seat Covers Are And Why They’re So Stubborn
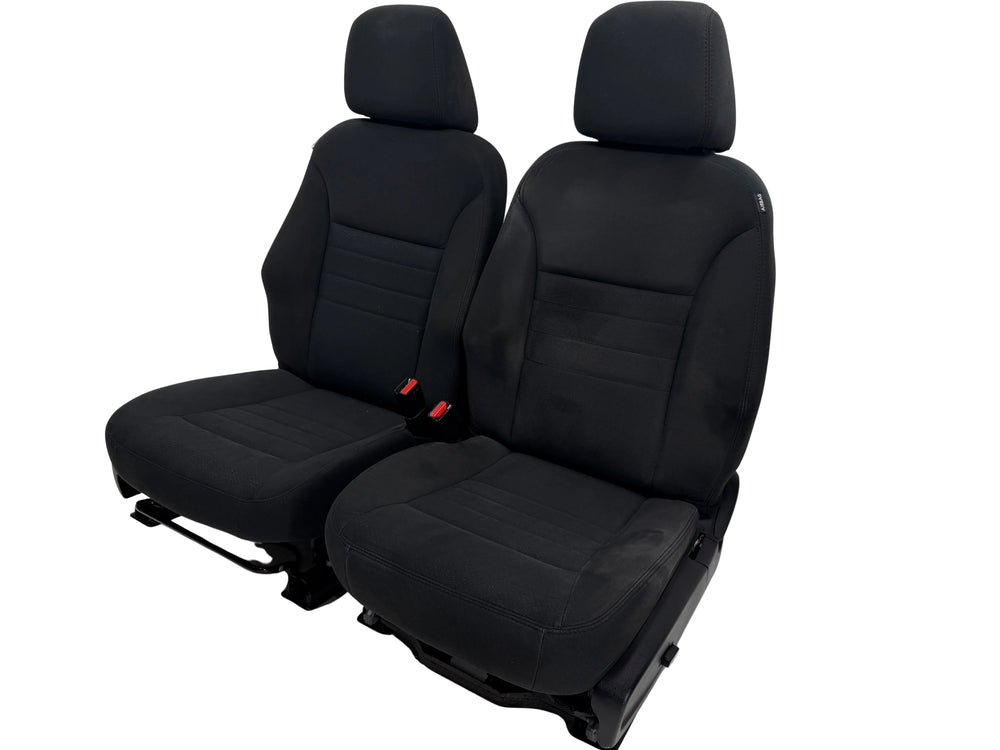
Factory seat covers are the outer upholstery that came with your car from the assembly line. They wrap around foam and frames, and they’re fitted tight for safety, comfort, and a neat look.
They’re stubborn for good reasons. They hide wires for airbags and heaters. They use sharp hog rings, rigid plastic channels, and tight J-clips. And they’re often glued into foam with Velcro-like pads. Knowing these parts helps you plan the job and your knuckles’ survival.
If you want the short path on how to remove factory seat covers, it’s about prep, patience, and the right pliers. You’ll unbolt, unplug, unclip, and then lift and roll the material like you’re peeling a banana in slow motion.
Tools, Supplies, And Safety Prep
You do not need a full shop. You do need the right basics. Gather these first.
- Ratchet with sockets for seat bolts, often E-Torx or 14–18 mm
- Torx bits for trim and airbag covers
- Trim removal tools to avoid scratches
- Hog ring pliers and cutters or side cutters
- Small flat screwdriver and needle-nose pliers
- Painter’s tape and zip bags for labeling clips and screws
- Microfiber towels and isopropyl alcohol for cleaning
- Optional: upholstery steamer for stubborn wrinkles and Velcro
Safety steps that matter:
- Disconnect the battery and wait 10–15 minutes before unplugging seat airbags or sensors.
- Slide the seat back and forth for bolt access. Watch sharp rails.
- Wear gloves. Hog rings are tiny metal piranhas.
- Photograph each stage. Pictures beat memory every time.

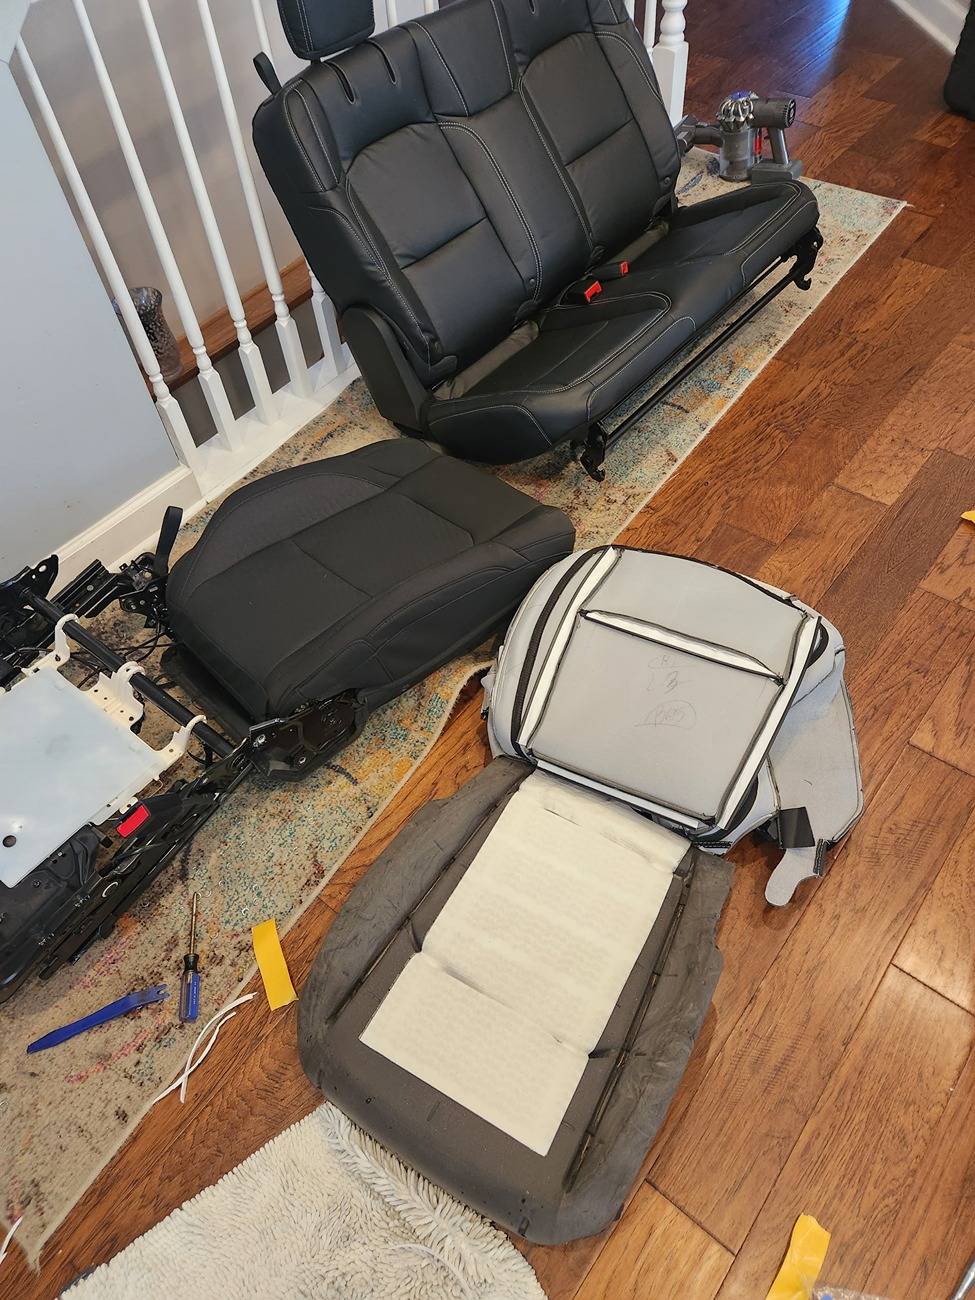
Step-By-Step: How To Remove Factory Seat Covers On Front Seats
This is the core method on how to remove factory seat covers. Most modern seats use similar layouts.
Power down
Disconnect the battery. Wait at least 10 minutes. This keeps the SRS calm. It also resets modules after you plug things back in.Unbolt the seat
Slide it all the way back. Remove the front bolts. Slide it forward. Remove the rear bolts. Tilt the seat back for access to wiring.Unplug wires
Under the seat, unplug yellow airbag connectors first, then heaters and occupancy sensors. Press tabs. Do not yank.Remove the seat from the car
Lift with a friend if needed. Avoid door jambs and scratchy rails. Set the seat on a clean mat or towel.Pull headrest and side trim
Pop the headrest out. Remove plastic side covers with a trim tool and Torx bits if needed. Note the route of handles and levers.Release lower J-clips or zippers
At the bottom of the seat back and cushion, find the attachment: J-clips, plastic channels, or zippers. Open or unhook them to free tension.Peel back the cover
Roll the fabric up like a sock. Go slow. You’ll see hog rings holding the cover to stiff “listing rods” in the foam. Cut each ring with side cutters. Save listing rods.Work section by section
For the seat cushion, peel from front to rear. For the seat back, peel from bottom to top. Keep wires for heaters and airbags clear.Free the bolsters and headrest guides
Some guides twist free. Others have hidden tabs. Use a small flat screwdriver. Do not break them; new ones can be pricey.Label and bag hardware
Bag hog rings (trash), listing rods (keep), plastic clips (keep). Label left vs right parts.
Pro tip from the grind: On a late-model Civic I did last month, the cover hugged the foam with Velcro in the lumbar area. A light pull while sliding a plastic trim tool underneath broke the bond cleanly without ripping foam. Slow and steady beats brute force.

Rear Seats: How To Remove Factory Seat Covers Without Tears
Rear seats feel simple. They hide secrets.
Seat bottom:
- Look for two front clips. Push the cushion rearward, then lift up. Some use bolts at the front edge. Remove child-seat anchor covers if they block.
- Once out, flip the cushion. Release J-clips or plastic channels. Peel and cut hog rings as needed.
Seat backs:
- Fold them down. Remove bolts at the hinges or center latch cover.
- Lift straight up to unhook from the body brackets. Watch the trunk liner and seat belts.
- Release the cover from the bottom edge. Peel upward. Free headrest guides and any zippers.
- Mind the pass-through and armrest latch cables.
On SUVs and trucks, the process is the same, but the panels are bigger. Get a helper. Your spine will thank you.

Attachment Types You’ll Meet And How To Undo Them
Knowing the “how” behind how to remove factory seat covers starts with fasteners.
Hog rings
Small C-shaped rings that bite into listing rods. Cut them with side cutters. Replace with new rings if reinstalling.
J-clips
Two rigid edges that lock together. Pry the lip open with a trim tool, then roll it apart with your thumbs.
Plastic channels
One male, one female track. Pinch to release, then slide apart. Warm plastic with a steamer if it’s stiff.
Velcro or hook-and-loop pads
Found in bolsters and lumbar. Separate with steady pull. Use a plastic tool to help. Do not rip the foam.
Zippers and hidden tabs
Open zippers fully. Tabs at corners need a gentle lift with a small screwdriver.
If you see glue, it’s rare. It’s usually just aggressive hook-and-loop. Don’t panic.

Smart Troubleshooting And Mistakes To Avoid
Things go sideways. Here’s how to stay calm and carry pliers.
- The cover won’t move: You missed a hog ring or tab. Feel along the seam. They hide in folds.
- Airbag warning light after reassembly: You connected the battery before plugging the airbag harness. Reconnect, then clear codes with a scan tool.
- Torn foam near listing rod: Patch with spray adhesive and a small foam piece. Let it cure before reinstall.
- Broken plastic clip: Many have part numbers on the back. Search that number for a match.
- Creases won’t relax: A quick pass with a steamer helps. Keep it moving. Don’t soak.
Biggest rookie mistake I see? Cutting heater wires that sit under the cushion cover. Always check under the fabric before you snip anything shiny.
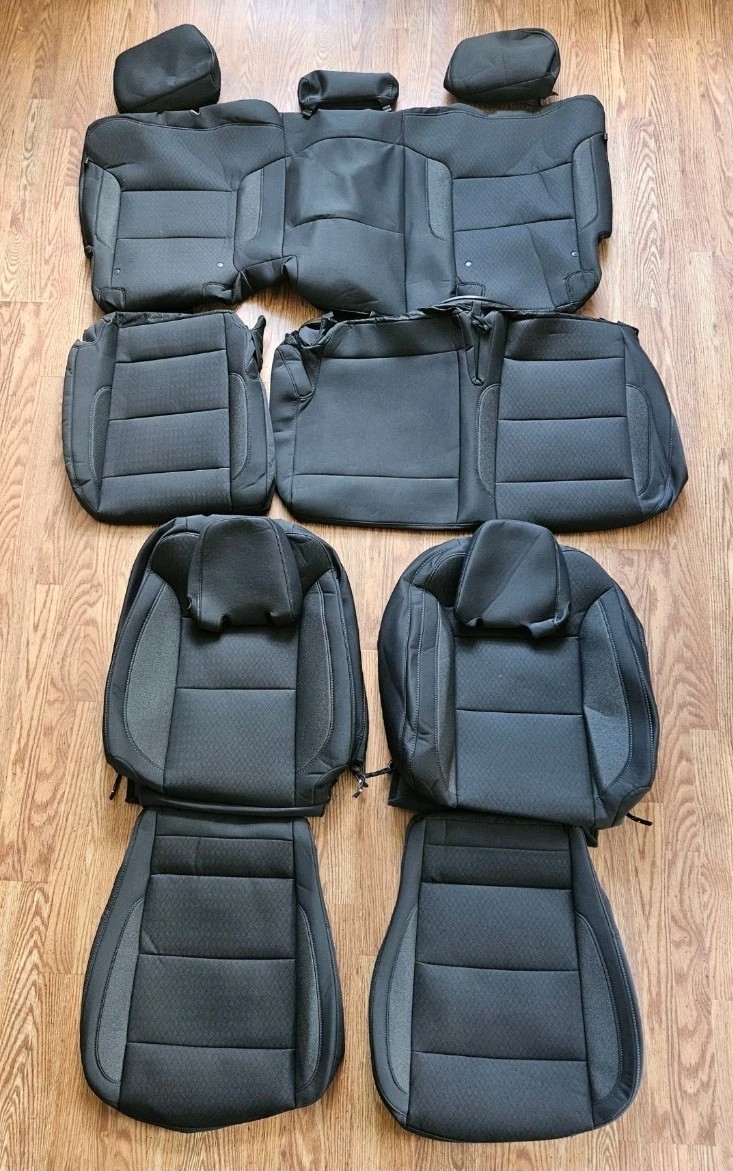
Cleaning, Reinstalling, Or Upgrading The Covers
Once you master how to remove factory seat covers, you can refresh or upgrade.
Clean
Vacuum foam. Wipe frames with alcohol. Treat rails with a light dry lube. Wash fabric covers per tag. Leather prefers pH-balanced cleaner and a gentle brush.
Reinstall
Reverse the process. Fit the cover warm for easier stretch. Align seams to foam darts. Use new hog rings on listing rods. Snap J-clips and channels last.
Upgrade
Aftermarket leather or neoprene covers look great, but follow their specific guide. Seat heaters? Route wires flat and away from sharp edges. If you add covers over side airbags, use airbag-safe seams only.

Time, Cost, And Skill Level
People ask how long it takes and what it costs. Here’s the honest view.
- Time: Front seat 45–90 minutes each for a first-timer. Rear bench 30–60 minutes. SUVs add time.
- Cost: Basic tools under $60. Hog ring kit about $20–$35. Steamers are optional.
- Skill: Patient DIYers can do it. If the car has complex SRS or luxury trim, a pro saves risk.
For me, how to remove factory seat covers is a calm Saturday job with music and snacks. Plan breaks. Label parts. You’ll finish strong.
Frequently Asked Questions Of How To Remove Factory Seat Covers
Do I have to disconnect the battery before removing seat covers?
Yes. Wait 10–15 minutes after disconnecting so any stored charge in the SRS can drop. This reduces airbag risk when unplugging seat harnesses.
What tools do I need for hog rings?
Use side cutters to remove them and hog ring pliers to reinstall. Keep new rings handy because old ones bend and break.
Can I remove the covers without taking the seat out of the car?
You can, but it’s harder on your back and fingers. Pulling the seat out gives you better angles and prevents torn fabric.
Will removing factory seat covers affect my airbags or sensors?
Not if you unplug the battery first and handle wires with care. Reconnect all plugs before restoring power, and clear any warning lights with a scan tool if needed.
How do I avoid tearing the foam under the cover?
Cut only the hog rings, not the foam. Peel the fabric slowly, and slide a plastic tool between foam and Velcro pads.
Is steaming the cover safe?
Yes, a light steam helps the fabric relax and fit. Keep the steamer moving and avoid soaking seams.
How do I know which attachment my car uses?
Check the lower edge of the cover for J-clips, channels, or zippers. Inside, look for hog rings along seams and bolsters.
Can I reinstall with zip ties instead of hog rings?
Many DIYers do for convenience. Use high-temp, rounded-edge ties and don’t over-tighten, or you’ll dent the foam.
Conclusion
Now you know how to remove factory seat covers with care, speed, and a touch of swagger. Disconnect the battery, unbolt, unplug, unclip, and peel in stages. Keep pictures, label parts, and respect hog rings. Take breaks, use gentle force, and your seats will thank you.
Ready to get hands-on? Set up your tools, start with one seat, and follow the steps. Share your wins or sticky parts in the comments, and subscribe for more friendly garage-tested guides.