Are you looking to protect your roof from leaks and ensure a longer lifespan for your home? Installing vent pipe flashing on an existing roof might sound intimidating, but with the right guidance, you can do it yourself and save money.
Imagine feeling confident about your roofing skills and knowing that you’ve safeguarded your home against water damage. You’ll discover step-by-step instructions and essential tips to make the process straightforward and stress-free. Whether you’re a DIY enthusiast or just someone trying to maintain your home, you’re in the right place.
Let’s dive into how you can achieve a professional finish without the hassle!

Credit: www.youtube.com
Tools And Materials Needed
Installing vent pipe flashing on an existing roof can be daunting without the right tools and materials. Having everything you need beforehand makes the process smoother and safer. In this section, we will outline the essential tools, materials required, and necessary safety gear.
Essential Tools List
- Hammer:Use it to secure nails.
- Utility Knife:Necessary for cutting shingles.
- Measuring Tape:Ensures precise measurements.
- Caulking Gun:Applies sealant around the flashing.
- Roofing Nails:Secures the flashing to the roof.
- Flat Pry Bar:Helps remove old nails and shingles.
- Chalk Line:Marks straight lines on the roof.
Materials Required
- Vent Pipe Flashing:Main component for sealing the vent pipe.
- Roofing Sealant:Provides waterproof protection around the pipe.
- Replacement Shingles:Use these if old shingles are damaged.
- Underlayment:Adds an extra layer of protection beneath shingles.
Safety Gear
- Safety Harness:Prevents falls when working on the roof.
- Non-slip Shoes:Provides stability and grip.
- Gloves:Protects hands from sharp tools and materials.
- Safety Glasses:Shields eyes from debris.
- Hard Hat:Protects head from accidental bumps.

Credit: legacyusa.com
Preparing The Roof
Preparing your roof for vent pipe flashing is a crucial step that can save you from potential headaches down the line. Proper preparation ensures a snug fit and optimal performance, preventing leaks and extending the life of your roof. So, let’s dive into the essentials of getting your roof ready, ensuring you have a smooth installation process.
Inspecting The Roof
Before you start, take a close look at your roof. Look for any signs of damage such as loose shingles or cracked tiles. These issues can compromise the installation, so addressing them first is key.
Use a ladder to get a closer view, but ensure your safety by having someone assist you. A friend of mine learned this the hard way when he attempted a solo inspection. Better to be safe and thorough than to rush and regret later.
Cleaning The Area
Once you’ve inspected, it’s time to clean the area around the vent pipe. Remove any debris, leaves, or dirt. A clean surface is critical for a secure installation.
Consider using a soft brush or cloth to avoid damaging the shingles. When I first tackled this task, I underestimated the power of a clean surface. Trust me, this step can make or break your flashing’s effectiveness.
Measuring The Vent Pipe
Accurate measurements are the backbone of a successful installation. Measure the diameter of your vent pipe carefully. A wrong measurement can lead to a loose fit, causing leaks.
Keep a notepad handy to jot down your measurements. This might seem obvious, but it’s surprisingly easy to forget. Have you ever tried to remember multiple numbers while balancing on a roof? It’s not fun!
Getting your roof ready might seem like a lot of work, but it’s all about setting the stage for a successful installation. Are you ready to tackle your roof with confidence? Let’s keep the momentum going!
Removing Old Flashing
Removing old flashing is a crucial step in installing new vent pipe flashing on your existing roof. It’s like peeling away the layers to reveal a fresh start, ensuring your new installation will last longer and function efficiently. Whether you’re a seasoned DIY enthusiast or tackling this for the first time, identifying and carefully removing the old flashing sets the stage for success.
Identifying Old Flashing
First, you need to identify the old flashing. It might seem daunting, but take a deep breath and start by looking for metal sheets around the base of your vent pipe. These sheets are often secured with nails or screws, and might be slightly weathered or discolored. A quick tip: use a flashlight to spot any hidden sections under roof shingles. You’ll be surprised how much easier it becomes once you recognize these key elements.
Careful Removal Techniques
Once you’ve identified the old flashing, it’s time to remove it carefully. Start by gently prying up any nails or screws using a flat pry bar or screwdriver. You don’t want to damage the surrounding shingles or the roof structure. Remember to wear gloves to protect your hands from sharp edges. Have you ever noticed how careful planning can save you from unexpected issues? This is your chance to see it in action.
After loosening the nails, slowly lift the flashing away from the vent pipe. If it’s stubbornly stuck, apply a little heat using a hairdryer to soften any sealant. Did you ever think a hairdryer could be such a handy tool outside of hairstyling? Be patient, and avoid pulling forcefully. You want to keep the integrity of the roof intact while removing the flashing cleanly.
Have you ever thought about how satisfying it feels to remove something old to make way for something new? The careful removal of old flashing not only prepares the roof for new installation but also gives you a sense of accomplishment. As you make progress, consider how these careful techniques can be applied to other home improvement projects.
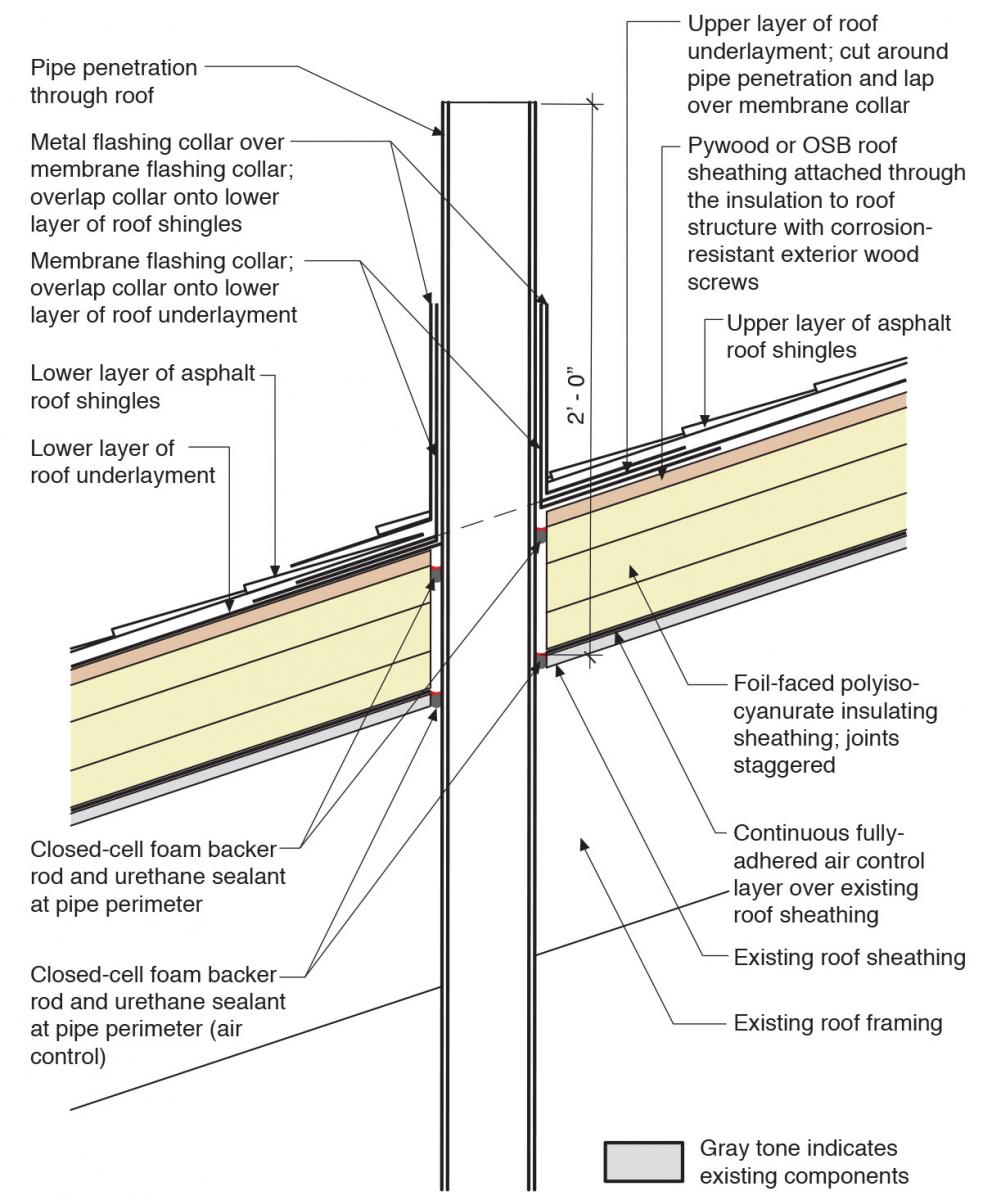
Credit: basc.pnnl.gov
Installing New Flashing
When working on an existing roof, adding new vent pipe flashing might seem daunting. However, with the right steps, you can ensure a snug fit that keeps your roof watertight. Imagine this: you’re up on the roof, the breeze gently nudging you, and you’re about to make your home more secure. Let’s dive into the essential steps for installing new flashing.
Positioning The Flashing
Start by sliding the new flashing over the vent pipe. Ensure the base of the flashing sits flush against the shingles. The top of the flashing should tuck under the shingles directly above the vent, while the bottom rests on top of the shingles below.
Why is positioning so crucial? If the flashing isn’t correctly aligned, it could lead to leaks. Take a moment to double-check your placement, ensuring no gaps are visible.
Securing The Flashing
Once positioned, it’s time to secure the flashing. Use roofing nails to anchor the flashing to the roof. Place nails along the edges where the flashing meets the shingles, roughly 3 inches apart.
Remember the first time you tried a new recipe, and the instructions seemed overwhelming? Tackling flashing might feel the same, but with each nail, your confidence grows. Ensure each nail is snug but not overly tight to avoid damaging the flashing.
Sealing Edges
With the flashing secured, the final step is sealing the edges. Apply a generous bead of roofing sealant around the perimeter of the flashing. This creates a watertight barrier, preventing moisture from sneaking underneath.
Ever wondered how a small gap can cause big problems? Sealing is your safeguard against future leaks. Check your work by gently running your finger along the sealant to spot any missed areas.
Have you faced challenges with roof repairs before? What other tips have you found helpful when working on your roof? Share your experiences in the comments!
Finishing Touches
Installing vent pipe flashing on an existing roof involves careful preparation and precise placement. Begin by cleaning the area around the vent pipe, ensuring a smooth surface. Secure the flashing tightly with nails, preventing leaks and protecting your home from water damage.
Finishing touches are crucial in any roofing project. They ensure the longevity of your installation. After securing the vent pipe flashing, final tasks remain. These steps guarantee a leak-free and professional finish. Pay attention to the details to protect your home from water damage.Checking For Leaks
Start by inspecting the roof area around the vent pipe. Look for any visible gaps or misalignments. Use a garden hose to spray water around the flashing. Watch closely inside your attic for any signs of leaks. Check for damp spots or water droplets. Address any leak immediately to prevent future issues.Final Adjustments
Ensure the flashing sits flush against the roof. Tighten any loose screws or nails securing the flashing. Trim any excess flashing material for a neat appearance. Apply a quality roof sealant around the edges of the flashing. This adds an extra layer of protection against water infiltration. Recheck the surrounding shingles. Make sure they are undisturbed and lying flat.Maintenance Tips
Proper maintenance ensures the longevity of your vent pipe flashing. Regular care prevents leaks and costly repairs. Here are some essential maintenance tips to keep your roof in top shape.
Routine Inspections
Check the vent pipe flashing twice a year. Use binoculars for a closer look. Inspect after heavy storms or strong winds. Look for visible damage or rust. Ensure the flashing is firmly attached. A secure fit prevents water entry. Detect small issues early to avoid big problems.
Handling Repairs
Address damage as soon as possible. Loose flashing needs immediate attention. Tighten screws or nails if necessary. Seal small gaps with roofing sealant. Replace damaged flashing parts promptly. Use materials that match the existing roof. This maintains the roof’s appearance and effectiveness.
Frequently Asked Questions
What Tools Are Needed For Vent Pipe Flashing Installation?
You need a ladder, hammer, nails, flashing, sealant, and safety gear. These tools ensure proper installation and safety.
Can I Install Flashing Without Removing Shingles?
Yes, you can install flashing without removing shingles. Carefully lift shingles to fit the flashing underneath.
How Do I Choose The Right Flashing Material?
Choose flashing material based on roof type and climate. Common materials include aluminum, copper, and galvanized steel.
How Long Does Vent Pipe Flashing Last?
Vent pipe flashing typically lasts 20 years. Regular inspections help maintain its condition and prevent leaks.
Is Professional Help Needed For Installation?
No, professional help isn’t always needed. With the right tools and instructions, many homeowners can do it themselves.
Conclusion
Installing vent pipe flashing on an existing roof is crucial. It prevents water leaks and protects your home. Follow the steps carefully. Ensure you have the right tools. Safety is important, use a sturdy ladder. Clean the area before installing the flashing.
Measure accurately to avoid mistakes. Tighten all screws securely. Check for gaps after installation. Proper sealing is vital. Regular maintenance keeps your roof in good shape. This task may seem tricky, but it’s doable. With patience, you can succeed. Keep your home safe and dry.
Your efforts will pay off!