To fill the gap between a shelf and wall, use putty wall filler or expanding foam, wood filler, or silicone caulk depending on the size of the gap. Apply the filler with a putty knife, caulking gun, brush, or spatula, overfilling slightly as the filler may shrink as it dries.
Once the filler has dried, sand it down until it’s flush with the surface. Caulk is best for small gaps and cracks, while putty is best for significantly bigger gaps. Filling the gap not only provides a clean, finished look but also prevents moisture and dust from accumulating in the space.
When it comes to home improvement, fixing gaps between shelves and walls can be a challenging task. However, it’s not impossible to do it yourself with the right materials and techniques. Whether you’re dealing with a small or large gap, using the appropriate filler can help you achieve a seamless finish. We’ll explore different options for filling gaps between shelves and walls, including putty wall filler, expanding foam, wood filler, and silicone caulk. We’ll also provide step-by-step instructions to ensure that you get the job done right.
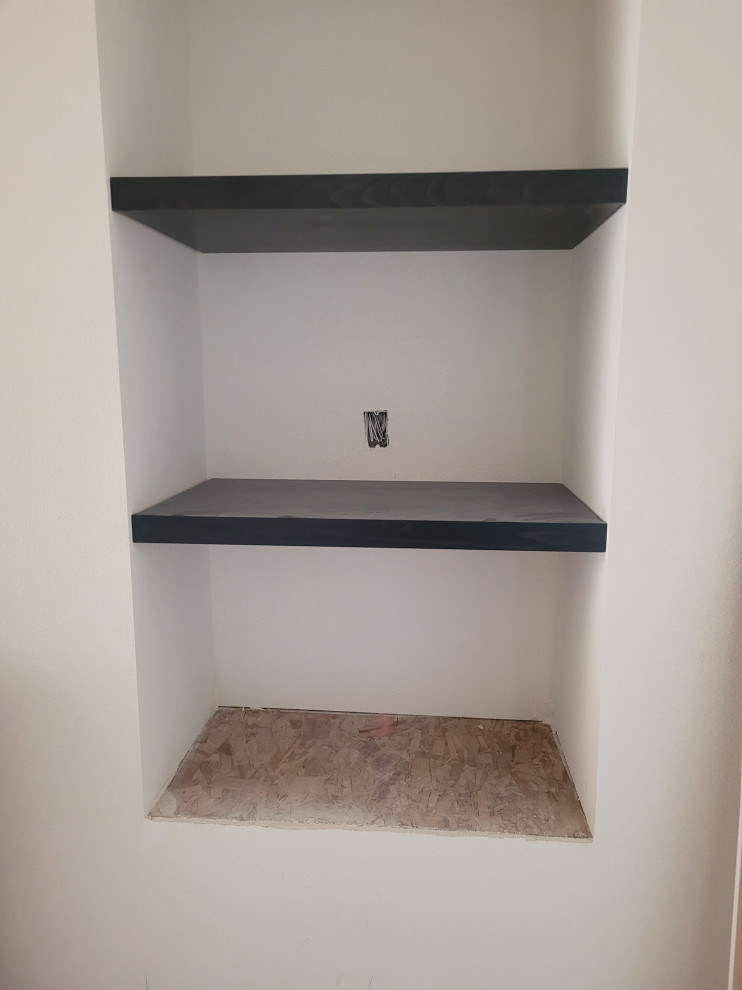
Credit: www.houzz.com
Assessing The Gap
Before addressing the gap between the shelf and the wall, it’s crucial to assess the gap’s size and type. By understanding these factors, you can select the most suitable method for filling the gap effectively.
Measuring The Gap Size
Start by measuring the gap between the shelf and the wall accurately. Use a measuring tape to determine the width and depth of the gap. Record these measurements as they will help you determine the amount of filling material required for the gap.
Understanding Different Gap Types
Not all gaps are the same. Different types of gaps may require different filling materials and techniques. Common gap types include small hairline cracks, medium-sized gaps, and larger irregular spaces. Identifying the specific type of gap will guide you in choosing the most suitable filler material and application method.
Caulking Small Gaps
When it comes to filling the small gaps between a shelf and the wall, caulking is an effective and efficient solution. Whether you are looking to improve the aesthetic appeal or prevent dust and moisture from accumulating in the gaps, choosing the right caulk and following the correct caulking procedure is crucial.
Choosing The Right Caulk
Before you start the caulking process, it’s essential to select the appropriate caulk for the job. Consider the type of surface and the size of the gap. For small gaps between a shelf and a wall, a paintable acrylic latex caulk is recommended. This type of caulk provides flexibility and is easy to work with, making it ideal for filling small gaps.
Step-by-step Caulking Instructions
Follow these simple steps to effectively caulk the small gaps between your shelf and the wall:
- Clean the area: Use a damp cloth to remove any dirt, dust, or debris from the gap and the surrounding surfaces.
- Prepare the caulk: Cut the tip of the caulk tube at a 45-degree angle to create a small opening for precise application.
- Apply the caulk: Squeeze a small amount of caulk into the gap, ensuring it fills the space completely without overflowing.
- Smooth the caulk: Use a caulk finishing tool or a moistened finger to smooth the surface of the caulk, creating a seamless finish.
- Allow drying: Let the caulk dry as per the manufacturer’s instructions, ensuring it sets properly.
- Inspect the finish: Once the caulk is dry, inspect the area to ensure the gap is completely filled and the caulk has adhered properly to the surfaces.
Using Wood Filler For Larger Gaps
To fill the gap between a shelf and the wall, use wood filler for larger gaps. Apply the filler using a putty knife, pressing it into the gaps and overfilling slightly as it may shrink when it sets. Once dry, sand it down until flush with the surface for a seamless finish.
Preparing The Surface
Before applying wood filler to larger gaps between shelves and walls, it’s essential to prepare the surface properly. Follow these steps:
1. Clean the area: Remove any dust, debris, or loose material from the gap using a brush or vacuum cleaner. This will ensure a clean and smooth surface for the wood filler to adhere to.
2. Sand the edges: Use sandpaper to gently sand the edges of the gap. This will create a rough surface, allowing the wood filler to bond better with the surrounding materials.
3. Wipe off excess dust: After sanding, wipe off any excess dust or particles using a clean cloth. This will prevent them from mixing with the wood filler and affecting the finish.
Applying And Sanding Wood Filler
Once the surface is prepared, you can now apply the wood filler to fill the larger gaps. Follow these steps:
1. Choose the right wood filler: Select a wood filler that is suitable for your specific project. There are various types available, such as solvent-based or water-based fillers. Read the manufacturer’s instructions to ensure you choose the appropriate one.
2. Apply the filler: Using a putty knife or spatula, apply the wood filler to the gap, ensuring it is pressed firmly into the crevices. Overfill the gap slightly, as the filler may shrink as it dries.
3. Smooth the filler: Use the putty knife or a smoothing tool to level the wood filler with the surface of the shelf and wall. This will create a seamless finish once it’s sanded.
4. Allow drying time: Follow the manufacturer’s instructions for the recommended drying time. Typically, wood filler takes a few hours to dry completely, but it may vary depending on the product and the size of the gap.
5. Sand the filler: Once the wood filler is dry, use fine-grit sandpaper to smooth the surface. Sand in a gentle circular motion until the filler is flush with the surrounding area. Be careful not to oversand and damage the shelf or wall.
6. Clean the area: After sanding, clean the area again to remove any dust or debris. This will ensure a clean surface for further finishing, such as painting or staining.
By following these steps, you can effectively fill larger gaps between shelves and walls using wood filler. Remember to choose the right product, prepare the surface properly, and apply the filler evenly for the best results.
Expanding Foam For Uneven Gaps
To fill the uneven gap between a shelf and a wall, consider using expanding foam. Apply the foam carefully to ensure it fills the gap evenly, providing stability and a seamless finish. This method is effective for addressing irregular spaces and preventing dust accumulation.
When To Use Expanding Foam
Expanding foam is an excellent solution for filling uneven gaps between shelves and walls. It is especially useful when dealing with gaps that are irregular in shape or size. Expanding foam is designed to expand and harden, creating a solid barrier that fills the gap and provides a seamless finish. It is perfect for gaps that are too large for traditional caulking or putty fillers. By using expanding foam, you can ensure a professional-looking result and prevent dust, moisture, and pests from entering the gap.
Applying Expanding Foam Safely
When using expanding foam to fill gaps, it’s important to follow proper safety precautions. Here’s a step-by-step guide to applying expanding foam safely:
1. Prepare the area: Clean the gap and remove any loose debris or dust. This will ensure proper adhesion of the foam.
2. Protect surrounding surfaces: Since expanding foam expands as it cures, it’s essential to protect any adjacent surfaces from overspray. Use masking tape or plastic sheeting to cover the surrounding areas.
3. Shake the can: Shake the can of expanding foam vigorously to ensure proper mixing of the components.
4. Apply the foam: Hold the can upside down and insert the nozzle into the gap. Start by applying a small amount of foam, as it will expand significantly. Gradually fill the gap, moving the nozzle along the length of the gap to ensure even coverage.
5. Allow the foam to cure: Expanding foam typically takes a few hours to fully cure. Follow the manufacturer’s instructions for the recommended curing time.
6. Trim and shape the foam: Once the foam has cured, you can trim and shape it to achieve the desired finish. Use a sharp knife or saw to remove any excess foam and create a smooth surface.
Remember to wear protective gloves, goggles, and a mask when working with expanding foam to avoid skin irritation and inhalation of fumes. It’s also essential to work in a well-ventilated area.
Using expanding foam is a cost-effective and efficient way to fill uneven gaps between shelves and walls. By following the above steps, you can achieve a professional-looking result and ensure a tight seal that keeps out dust, moisture, and pests.
Custom Trim Solutions
Custom Trim Solutions offers a range of options for filling the gap between shelves and walls. From using wood filler to silicone caulk, they provide the perfect solutions to ensure a seamless and professional finish for your built-ins.
When it comes to filling the gap between shelf and wall, custom trim solutions can provide a seamless and professional look. Custom trim solutions involve creating and installing trim pieces that fit perfectly between the shelf and the wall, eliminating any gaps or unevenness.
Creating A Seamless Look
To create a seamless look, start by measuring the gap between the shelf and the wall. Then, cut the trim pieces to fit the measurements precisely. It is recommended to use a high-quality wood or MDF (Medium-Density Fiberboard) for the trim pieces, as they are sturdy and easy to work with. Once the trim pieces are cut, sand them down to ensure a smooth finish, and then paint or stain them to match the surrounding decor.
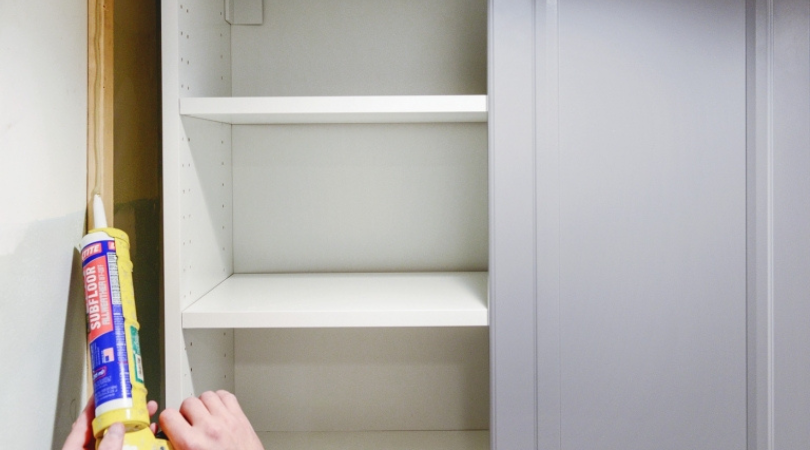
Installation Tips
Before installation, make sure the shelf and the wall are clean and dry. Apply a bead of construction adhesive to the back of the trim pieces, and then press them firmly into place between the shelf and the wall. Secure the pieces in place with finish nails or a nail gun, making sure to countersink the nails to avoid any visible holes. Fill any remaining gaps or nail holes with wood filler, and then sand the area down to a smooth finish.
In conclusion, custom trim solutions can provide an effective and aesthetically pleasing way to fill the gap between shelf and wall. By following these installation tips and creating a seamless look, you can achieve a professional and polished finish that enhances the overall appearance of your space.
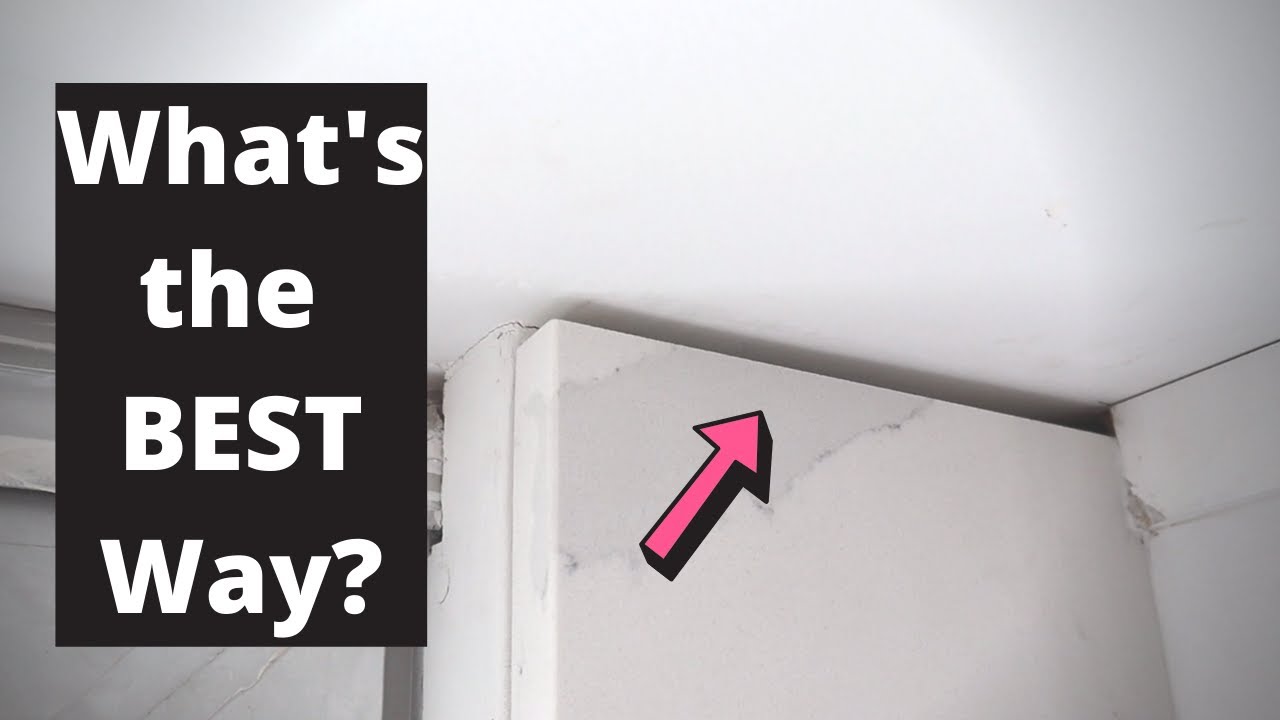
Credit: m.youtube.com
Finishing Touches
Looking to fill the gap between your shelf and wall? There are various methods you can try, such as using putty, wood filler, or caulk, depending on the size and type of the gap. Ensure you have the necessary materials on hand to achieve a seamless finish.
Finishing Touches:
Once you have filled the gap between your shelf and wall, it’s time to add the finishing touches to make it look seamless. The following steps will guide you through sanding, painting, and staining to ensure a smooth and polished look.
H3: Sanding for Smoothness
To achieve a smooth finish, you need to sand down any excess filler and rough edges. Use fine-grit sandpaper to sand the area until it’s flush with the shelf and wall. Be sure to wipe away any dust or debris with a damp cloth before proceeding to the next step.
H3: Painting and Staining
After sanding, it’s time to paint or stain the filled gap to match the surrounding area. If you are painting, use a paintbrush or roller to apply the paint evenly over the gap. For staining, use a small brush to apply the stain to the filled gap. Be sure to allow the paint or stain to dry completely before adding any additional coats.
In conclusion, finishing touches are an important step in filling the gap between your shelf and wall. By sanding for smoothness and painting or staining, you can achieve a seamless look that adds value to your home.
Maintenance And Upkeep
To fill the gap between a shelf and wall, you can use putty or caulk. For larger gaps, wood filler may be necessary. Apply the filler with a putty knife, caulk gun, or brush, and overfill slightly as it may shrink when it dries.
Sand the filler down once dry.
Maintenance and Upkeep:
Regular Checks
To ensure the longevity and aesthetic appeal of your shelves, it is essential to perform regular checks and maintenance. This will help you identify any gaps between the shelf and wall that need to be filled. Regular checks also allow you to address any potential issues before they escalate.
Repairing Caulk and Filler Over Time
Over time, caulk and filler used to fill the gaps between the shelf and wall may deteriorate or shrink, leading to gaps reappearing. It is important to inspect these areas periodically and repair them as needed. Here’s how you can go about it:
1. Remove Old Caulk and Filler: Use a putty knife or a scraper to carefully remove any old caulk or filler from the gap between the shelf and wall. Make sure to clean the area thoroughly before proceeding.
2. Choose the Right Caulk or Filler: Depending on the size and type of the gap, select the appropriate caulk or filler material. Expanding foam, wood filler, or silicone caulk are commonly used options.
3. Apply the Caulk or Filler: Using a caulking gun, putty knife, brush, or spatula, apply the selected caulk or filler material into the gap. Press it firmly to fill the space, slightly overfilling it as the material may shrink as it sets.
4. Smooth and Finish: Once the caulk or filler has dried, sand it down with a fine grit sandpaper until it is flush with the surface of the shelf and wall. This will create a seamless and polished finish.
Remember, maintaining the integrity of the caulk or filler is crucial for long-lasting results. Regularly inspect the area and reapply caulk or filler as necessary to keep the gap between the shelf and wall filled and sealed.
By following these simple maintenance steps, you can effectively fill and maintain the gap between your shelf and wall, ensuring a clean and visually pleasing appearance.
Alternative Solutions
When it comes to filling the gap between a shelf and a wall, there are several alternative solutions you can consider. Depending on your preference and the size of the gap, you can choose from the following options:
Adjusting Shelf Placement
If the gap between your shelf and the wall is relatively small, one simple solution is to adjust the placement of the shelf. By moving the shelf closer to the wall, you can minimize the visible gap. This can be done by loosening the screws or brackets holding the shelf in place and sliding it towards the wall. Once you have achieved the desired position, tighten the screws or brackets to secure the shelf.
Professional Remodeling Options
If you have a larger gap between the shelf and the wall or if you prefer a more permanent solution, you may consider professional remodeling options. These options involve hiring a contractor or handyman who can modify the shelf or make adjustments to the wall to ensure a tight fit. This may include adding filler strips to the sides of the shelf or installing additional support brackets.
Additionally, if the gap is significant and you want to create a seamless look, you can opt for professional carpentry services. A skilled carpenter can custom-build a shelf that perfectly fits the space, eliminating any gaps between the shelf and the wall.
Remember, before proceeding with any remodeling options, it is essential to consult with a professional to ensure the structural integrity of the shelf and wall is not compromised.
Credit: medium.com
Frequently Asked Questions
What To Use To Fill A Gap Between A Wall And A Cabinet?
To fill a gap between a wall and a cabinet, you can use expanding foam, wood filler, or silicone caulk depending on the size and type of the gap. Apply the filler with a putty knife, caulking gun, brush, or spatula, pressing it into the gaps and overfilling slightly.
Once it dries, sand it down until flush with the surface. For small gaps, use caulk for a clean, finished look that prevents moisture and dust buildup.
How To Seal A Gap Between Wood And Wall?
To seal a gap between wood and a wall, follow these steps:1. Clean the area and ensure it is dry. 2. Apply a filler, such as putty, using a putty knife, caulking gun, brush, or spatula. 3. Press the filler into the gap, slightly overfilling it.
4. Let the filler dry. 5. Sand the dried filler until it is flush with the wood. 6. Finish the wood as desired. This will create a seal and provide a clean, finished look.
How To Fill A Gap Between Furniture And A Wall?
To fill a gap between furniture and a wall, use caulk for small gaps or putty for larger ones. Apply the filler with a putty knife or caulking gun, press it into the gaps, and overfill slightly. Once dried, sand it down for a flush finish.
How Do You Fill A Large Gap Between Trim And Wall?
Fill the gap using wood filler or silicone caulk, overfilling slightly as it may shrink. Sand it down once dry.
What Are The Common Reasons For Gaps Between Shelves And Walls?
Gaps between shelves and walls can occur due to uneven walls, settling of the building, or improper installation of the shelves.
Conclusion
Filling the gap between a shelf and wall is a simple task that can greatly enhance the aesthetics of your space. By using materials such as putty, wood filler, or silicone caulk, you can achieve a seamless and professional-looking finish.
Remember to clean and dry the surface before applying the filler and sand it down for a flush result. Whether it’s a small gap or a larger one, there are suitable options available to meet your needs. So go ahead and tackle that gap with confidence!