Orbit Irrigation systems help keep your garden lush and green. But, like any system, they can have issues.
In this guide, we’ll walk you through common problems with Orbit Irrigation and how to fix them. You’ll learn to identify issues quickly and apply simple solutions. From water flow problems to timer malfunctions, this guide covers it all. Understanding these fixes can save you time and money.
Whether you’re a beginner or an experienced gardener, this guide is for you. Keep your irrigation system running smoothly and your garden thriving. Let’s dive into the troubleshooting process and get your system back on track.

Credit: gilawnsprinkler.com
System Not Turning On
Is your Orbit irrigation system not turning on? This can be frustrating. There are simple steps you can take to diagnose and fix the issue. Read on to learn how to troubleshoot your system effectively.
Check Power Supply
First, ensure your system has power. Check the outlet for power. Plug another device into the same outlet to test. If the outlet works, move to the next step. If not, reset your circuit breaker. Sometimes, the outlet may be faulty.
Inspect the power cord. Look for any visible damage. Replace it if you find any issues. Ensure the power cord is firmly connected to the control panel.
Inspect Control Panel Settings
Next, check the control panel settings. Ensure the system is set to “on.” Verify that the correct time and date are set. Incorrect settings can prevent the system from running.
Look at the programming. Ensure the start times and zones are correctly set. Sometimes, a simple programming error can stop the system from activating. Reset the control panel if needed. Follow the user manual for specific instructions.
If these steps do not resolve the issue, consult a professional. Your system may need further inspection or repair.
Low Water Pressure
Experiencing low water pressure in your irrigation system can be frustrating. This issue can lead to uneven watering, affecting your lawn or garden’s health. Understanding the root causes and solutions can help you maintain a lush, green landscape.
Examine Water Source
The first step in troubleshooting low water pressure is to examine the water source. Ensure that the main water supply valve is fully open. A partially closed valve can restrict water flow, leading to low pressure. Verify that the water supply is sufficient to meet the irrigation system’s demands.
Check if other water fixtures in your home are using water simultaneously. Multiple water uses can reduce pressure to your irrigation system. Try scheduling irrigation during times of low household water use.
Clean Clogged Filters
Another common cause of low water pressure is clogged filters. Filters prevent debris from entering the irrigation system but can become blocked over time. Regular cleaning is essential to maintain optimal water flow.
To clean the filters:
- Turn off the water supply.
- Locate the filter, usually found near the valve box or sprinkler heads.
- Remove the filter and rinse it under running water.
- Use a soft brush to remove stubborn debris.
- Reinstall the filter and turn the water supply back on.
Inspect and clean the filters regularly to prevent future blockages.
By following these steps, you can address low water pressure issues effectively. Regular maintenance ensures your irrigation system operates smoothly and efficiently.
Sprinkler Heads Not Rotating
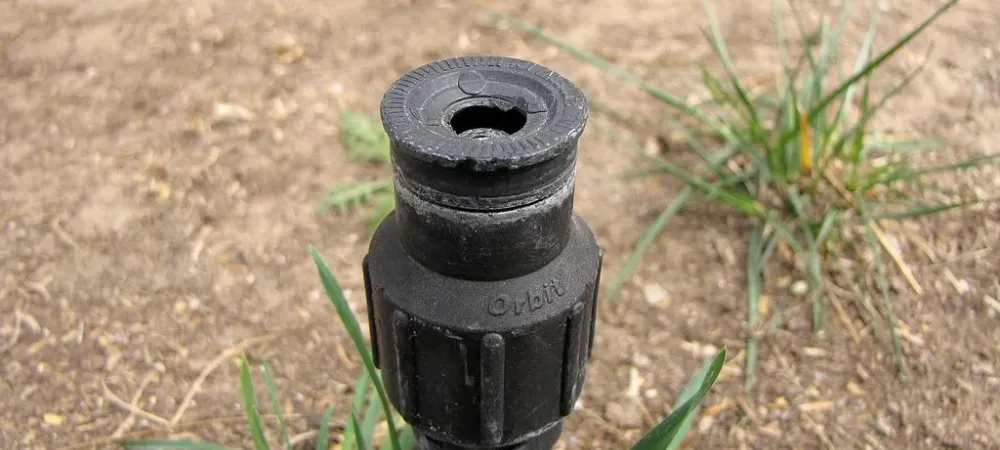
Sprinkler heads that fail to rotate can affect your lawn’s water coverage. This issue often leads to dry patches. It is essential to troubleshoot and fix it quickly. Several factors can cause sprinkler heads to stop rotating. This guide will help you identify and resolve these problems.
Lubricate Moving Parts
Lubrication can solve many rotation issues. Sprinkler heads have moving parts that can become stiff. Dirt and debris can make them stick. Clean the sprinkler head first. Use a cloth to remove any visible dirt. Then, apply a silicone-based lubricant. This type of lubricant is safe for plastic parts. Rotate the head manually to distribute the lubricant. Check if it moves freely now. Regular maintenance can prevent future issues.
Replace Damaged Heads
Sometimes, sprinkler heads are too damaged to repair. Inspect the head for cracks or breaks. Damaged gears inside can also cause rotation problems. If you find any damage, replace the sprinkler head. Purchase a replacement that matches your system. Turn off the water supply before removing the old head. Unscrew it carefully to avoid damaging the pipe. Install the new head by screwing it in place. Turn the water supply back on. Test the new head to ensure it rotates correctly.

Credit: www.orbitonline.com
Uneven Water Distribution
Uneven water distribution can turn your lush garden into a patchy mess. If some areas of your lawn are dry while others are soaked, it’s time to troubleshoot. Understanding the root cause can save water and keep your garden green.
Adjust Spray Patterns
Check the spray patterns of your sprinklers. They should cover the area evenly. Rotate the nozzle to ensure all parts get water. Sometimes, debris clogs the nozzle. Clean it to restore proper spray.
Ensure Proper Head Placement
Sprinkler heads must be at the right height. Too low and water won’t reach everywhere. Too high and it may overshoot. Adjust the heads to an even level. Check the spacing. Heads too close together or too far apart can cause issues.
Leaking Valves
Leaking valves in your Orbit irrigation system can lead to water wastage and increased utility bills. Identifying and fixing these leaks ensures your system runs efficiently. Below are some essential steps to help you troubleshoot and resolve leaking valves.
Tighten Loose Connections
Loose connections are a common cause of leaks. Carefully check all connections in your system.
- Inspect each valve connection for any signs of looseness.
- Use a wrench to gently tighten any loose fittings.
- Avoid over-tightening, which can damage the components.
If tightening the connections does not stop the leak, you may need to replace faulty parts.
Replace Faulty Valve Components
Sometimes, valve components wear out and need replacement. This often resolves persistent leaks.
- Shut off the water supply to the irrigation system.
- Carefully disassemble the valve using appropriate tools.
- Inspect the diaphragm, solenoid, and other internal parts.
- Replace any damaged or worn-out components with new parts.
- Reassemble the valve and restore the water supply.
Check for leaks once the system is reassembled. If the problem persists, consult a professional.

Credit: www.amazon.com
Timer Issues
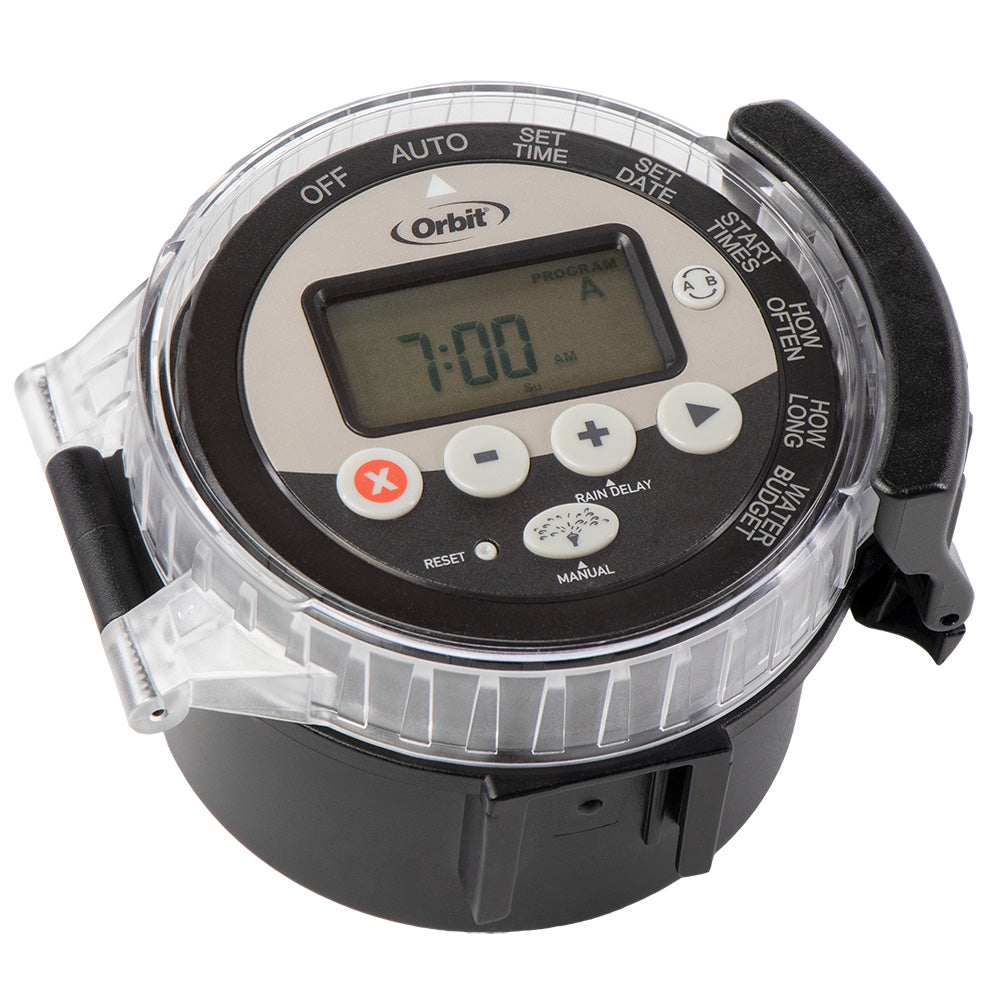
Timer issues can disrupt your irrigation schedule. It’s crucial to address them promptly. This guide will help you troubleshoot common timer problems. You will learn how to reset the timer and replace the battery.
Reset Timer
If your timer isn’t working, reset it first. Unplug the timer from the power source. Wait for at least 30 seconds. Plug it back in. This simple step can fix many issues. If it doesn’t work, try resetting it manually. Follow the instructions in your timer’s manual. Each model has different steps. Resetting can clear any temporary glitches.
Replace Battery
Sometimes, a dead battery causes timer issues. Locate the battery compartment. Open it carefully. Remove the old battery. Replace it with a new one. Make sure the new battery is the correct type. Check your timer’s manual for details. After replacing, test the timer. Ensure it functions properly. Replacing the battery can solve many power-related problems.
Seasonal Maintenance Tips
Proper seasonal maintenance keeps your Orbit Irrigation system running smoothly. Follow these tips for winterizing and starting up your system each spring.
Winterizing Your System
Prepare your system for winter to avoid damage from freezing temperatures.
- Shut off the water supply: Turn off the main valve to stop water flow.
- Drain the system: Open all the valves to let the water drain out.
- Blow out the lines: Use an air compressor to remove any remaining water.
- Insulate exposed parts: Cover above-ground pipes and backflow preventers with insulation.
These steps protect your system during winter and ensure a smooth restart in spring.
Spring Startup Procedures
Get your irrigation system ready for the growing season with these steps.
- Inspect the system: Check for any visible damage or leaks.
- Turn on the water supply: Slowly open the main valve to avoid pressure surges.
- Test each zone: Run each zone to ensure sprinklers are working correctly.
- Clean and adjust sprinklers: Remove debris and adjust spray patterns as needed.
- Check the controller: Ensure the timer and settings are correct for the season.
Following these procedures helps your system run efficiently and keeps your lawn healthy.
When To Seek Professional Help
Orbit irrigation systems are reliable, but problems arise. While many issues can be fixed with basic troubleshooting, some situations require professional help. Knowing when to call a technician can save time and prevent further damage.
Identifying Complex Problems
Some problems are easy to fix, like adjusting a sprinkler head. Others are more complex and need expert attention. Here are signs you need a professional:
- Inconsistent Watering: If your system waters unevenly, it may be a pressure problem.
- Electrical Issues: Issues with timers or control panels often need specialized tools.
- Persistent Leaks: If leaks persist after basic fixes, there might be underground pipe damage.
- System Not Turning On: This could be due to complex wiring issues.
Finding A Qualified Technician
Once you’ve identified the need for professional help, find a qualified technician. Here’s how:
- Check Credentials: Ensure they are licensed and insured.
- Read Reviews: Look for customer feedback on their services.
- Get Quotes: Compare prices and services offered by different technicians.
- Ask for References: Contact previous clients to gauge their satisfaction.
Finding the right professional ensures your Orbit irrigation system works efficiently. This saves you time and money in the long run.
Frequently Asked Questions
How Do I Fix Low Water Pressure In My Orbit System?
Check for clogged filters and clean them. Ensure valves are fully open. Inspect for leaks in pipes.
Why Is My Orbit Sprinkler Not Rotating?
Inspect the nozzle for debris. Clean it if necessary. Check for sufficient water pressure.
How Do I Reset My Orbit Sprinkler Timer?
Press the reset button on the timer. Refer to the manual for specific instructions.
What Causes Orbit Sprinklers To Leak Water?
Worn-out seals or damaged parts. Inspect and replace any faulty components to stop the leakage.
Why Won’t My Orbit Sprinkler Turn On?
Check the power supply. Ensure the timer is set correctly. Inspect wiring and connections for issues.
Conclusion
Solving issues with your Orbit irrigation system can be straightforward. Follow this guide, and you’ll likely fix most problems. Regular maintenance helps prevent future issues. Check connections and clean filters often. Replace worn parts promptly. A well-maintained system ensures your lawn stays green and healthy.
If problems persist, consider contacting a professional. Proper irrigation saves water and keeps your garden thriving. Happy gardening!


