Few kitchen tools are as timeless or as useful as the mortar and pestle. Used by cooks for thousands of years, this simple device crushes, grinds, and blends food in a way modern machines often can’t. But before you use a new mortar and pestle, there is one crucial step: seasoning. Seasoning prepares the surface, removes unwanted grit, and gives you better results for years to come. Many beginners skip this step, but taking time to season your mortar and pestle is the difference between average and amazing flavors.
If you’re holding a brand new mortar and pestle and wondering what to do next, you’re in the right place. This guide will show you, step by step, how to season a mortar and pestle. You’ll also learn why seasoning matters, what mistakes to avoid, and how to keep your tool in perfect shape.
Whether your set is made of granite, marble, ceramic, or wood, you’ll get expert advice that goes beyond the basics. Let’s unlock the real power of this classic kitchen tool.
Why Seasoning A Mortar And Pestle Matters
At first glance, seasoning a mortar and pestle might seem unnecessary. After all, it looks clean and ready to use straight out of the box. But the truth is, most mortar and pestle sets arrive with tiny stone dust, loose particles, or factory residues. These can affect both the taste of your food and the tool’s performance.
Seasoning does three main things:
- Removes Grit and Residue: During manufacturing, tiny stone or ceramic particles remain. If not removed, they can mix into your food.
- Smooths the Surface: A well-seasoned mortar and pestle has a smoother grinding surface. This makes grinding easier and lessens wear.
- Prevents Off-Flavors: Dust, chemicals, or even the natural taste of stone can make your first few dishes taste strange.
A properly seasoned mortar and pestle lets you grind spices, herbs, and pastes with pure, fresh flavors. Plus, it helps your tool last longer, saving you money and frustration in the long run.
Types Of Mortar And Pestle Materials
Before seasoning, it’s important to know what your mortar and pestle is made of. Different materials need different care. Here are the most common types:
| Material | Best For | Notes |
|---|---|---|
| Granite | Spices, herbs, pastes | Heavy, rough, very durable |
| Marble | Herbs, light grinding | Smoother than granite, can be fragile |
| Ceramic | Soft herbs, small amounts | Not for hard spices, chips easily |
| Wood | Spices, seeds, garlic | Absorbs flavors, gentle cleaning needed |
| Metal (brass/steel) | Tough spices, grains | Does not absorb flavors, can dent |
Granite and marble mortars are the most popular and usually need the most seasoning. Ceramic and wood types have special care steps, which we’ll discuss later.
Credit: cookly.me
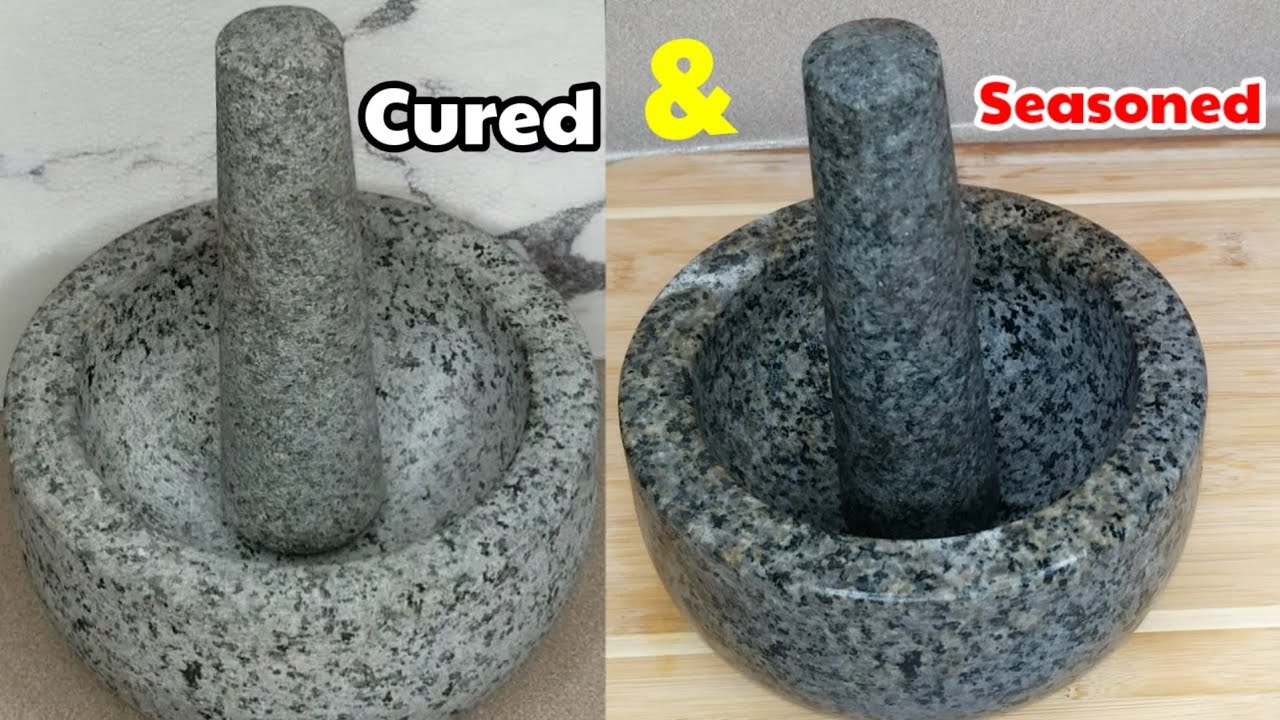
Step-by-step Guide: How To Season A Mortar And Pestle
Let’s dive into the process. The steps below are for a new granite or marble mortar and pestle, as these are most common. We’ll look at other materials after.
Step 1: Rinse And Inspect
Start by rinsing your new mortar and pestle under running water. Don’t use soap at this stage, as it can soak into the stone and affect flavors later. Use your hands to feel for any sharp edges or rough spots.
If you find any, you can smooth them gently with a clean, rough cloth.
Tip: Never use harsh chemicals or dishwashers on stone mortars. They can damage the surface.
Step 2: Air Dry Completely
Let the mortar and pestle dry fully. Moisture trapped in stone can lead to cracks over time. Place them upside down on a clean towel for best results.
Step 3: Grind White Rice
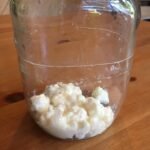
Pour a handful of uncooked white rice into the mortar. Use the pestle to grind it in a circular motion. The rice will pick up stone dust and grit from the surface. Continue until the rice turns gray or dirty.
Why rice? Rice grains are hard enough to scrub the stone but soft enough to avoid damage.
Repeat this step 2–3 times, using fresh rice each round, until the ground rice stays white.
Step 4: Add Garlic And Salt
After the rice, add a few peeled garlic cloves and a teaspoon of coarse salt. Crush and mash them together, covering the inner surface of the mortar. This step helps remove fine dust, smooths the surface, and begins to season the stone with natural oils.
Let the garlic and salt paste sit for about 30 minutes, then rinse with warm water (no soap).
Step 5: Grind Spices (optional But Recommended)
Some experts recommend grinding a small amount of whole spices (like black peppercorns or cumin) after the garlic step. This adds a light seasoning layer and removes any remaining odors.
Step 6: Final Rinse And Dry
Give your mortar and pestle a final rinse. Let them air dry again, upside down. At this point, the surface should feel smoother, and there should be no visible dust or grit.
Your mortar and pestle are now ready for use!
Special Tips For Different Materials
Not all mortars and pestles are the same. Here’s how to handle other types:
Ceramic Mortar And Pestle
Ceramic is smooth and doesn’t hold grit like stone, so heavy seasoning isn’t needed. Just rinse, check for cracks, and dry. Avoid grinding very hard spices, as ceramic can chip easily.
Wooden Mortar And Pestle
Wood absorbs flavors, so seasoning helps seal the surface. First, wash and dry the set. Then, rub with a neutral food-safe oil (like mineral oil). Let it soak overnight, then wipe off extra oil. Avoid soaking wood in water, as it can warp.
Metal Mortar And Pestle
Brass or stainless steel types don’t need seasoning, but a quick rinse and dry are still a good idea. Don’t use harsh abrasives, as they can scratch the metal.
Common Mistakes To Avoid When Seasoning
Even simple steps can go wrong if you’re not careful. Here are the mistakes beginners often make:
- Using Soap on Stone: Soap can soak into porous stone and cause flavors to linger.
- Skipping Rice Grinding: This crucial step removes hidden grit. Don’t skip it, even if the mortar looks clean.
- Not Drying Properly: Water left in stone or wood can cause cracking or mold.
- Using the Wrong Rice: Use regular white rice. Brown rice is oily and less effective for cleaning.
- Forgetting to Inspect for Chips: Small chips or cracks can get worse over time.
Non-obvious insight: Some people try to season their mortar and pestle with just water. This does not remove deeper grit. Always use a physical scrubbing step like rice.
How Often Should You Season Your Mortar And Pestle?
You only need to fully season a new mortar and pestle once. However, if you notice gritty texture or strange flavors after months of use, it’s smart to repeat the rice grinding step. For wooden mortars, apply oil every few months to prevent drying out.
Pro tip: If you grind very strong spices (like cloves or cinnamon), wash and dry your mortar soon after to avoid flavor transfer.
Cleaning And Maintaining After Seasoning
A seasoned mortar and pestle is easy to care for, but a few habits keep it in top shape:
- Rinse with Warm Water: After each use, rinse out residue. Use a brush for sticky pastes.
- No Soap for Stone or Wood: Stick to water and gentle scrubbing.
- Dry Upside Down: Always let the set air dry completely before storing.
- Remove Strong Odors: Grind dry rice or a little salt to absorb leftover smells.
- Oil Wooden Mortars: Keep wood from cracking by oiling occasionally.
| Material | Cleaning Method | Seasoning Repeated? |
|---|---|---|
| Granite/Marble | Warm water, brush | Only if gritty |
| Ceramic | Warm water, mild soap | No, just rinse |
| Wood | Wipe, oil occasionally | Re-oil as needed |
| Metal | Water, dry quickly | No, but polish if dull |
Another overlooked tip: If your mortar develops a stubborn smell (like garlic or chili), grind a little dry rice or coffee beans. This absorbs and removes odors fast.
Real Examples: Seasoning In Different Cuisines
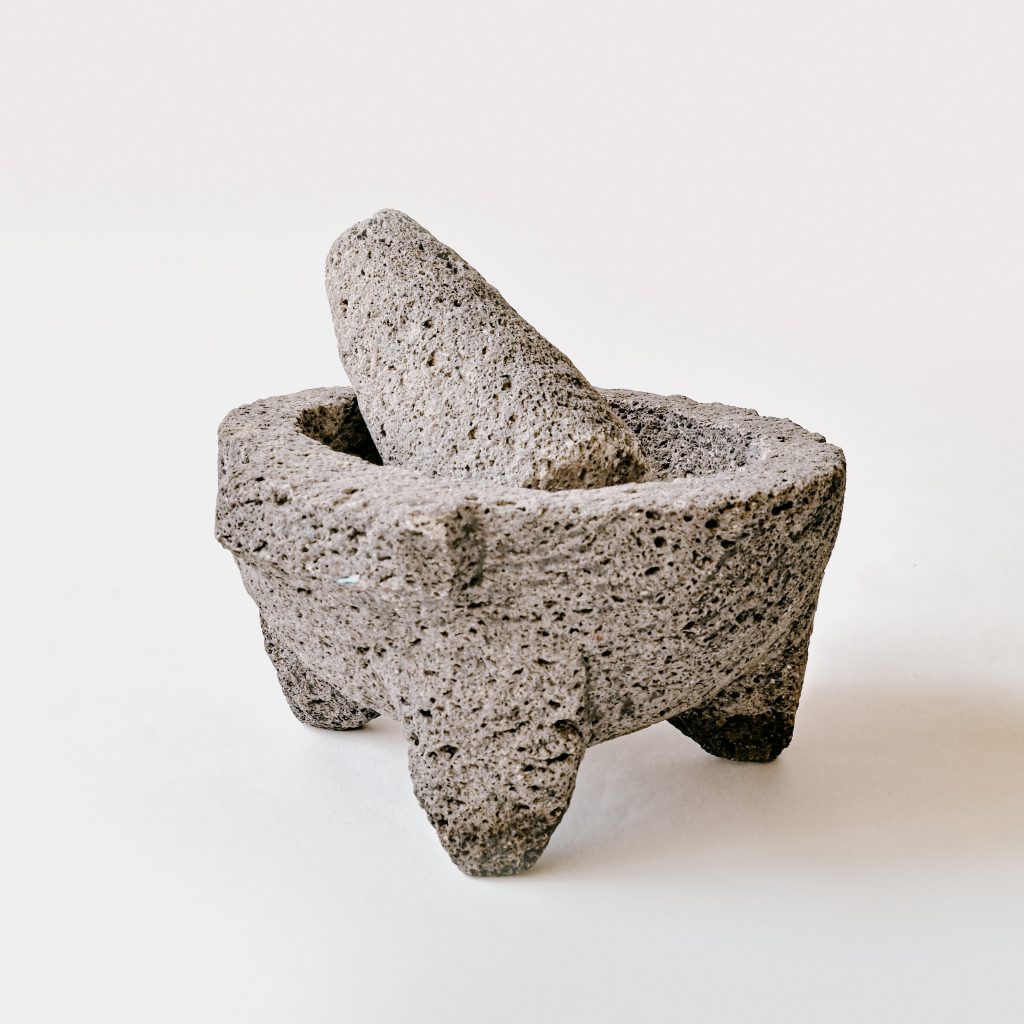
Seasoning isn’t just a technical step; it’s a tradition in many cultures. In Thailand, cooks season their granite mortars with garlic, chili, and salt, which preps the tool for spicy papaya salad. In Mexico, a volcanic stone mortar called a “molcajete” is seasoned with rice, then garlic and cumin, before making salsa or guacamole.
These customs show that seasoning is about building flavor, not just cleaning. Some families even pass down mortars that have absorbed decades of cooking aromas, giving each dish a special character.
How To Tell If Your Mortar And Pestle Is Properly Seasoned
You’ve followed the steps, but how do you know if your tool is ready? Here’s what to look for:
- No Gritty Texture: Run your finger along the bowl. It should feel smooth, not sandy.
- Clean Taste: Grind a little plain rice or salt and taste. There should be no stone or chemical flavor.
- No Visible Dust: After grinding, the bowl should be clean and dust-free.
If you notice any issues, repeat the rice grinding step. Remember, a well-seasoned mortar and pestle feels like an extension of your hand—solid, clean, and ready to create.
Advanced Tips: Getting The Most From Your Mortar And Pestle
Once you’ve seasoned your mortar and pestle, you can unlock even more potential. Here are a few expert tricks:
- Layered Seasoning: For richer flavors, try seasoning with the herbs and spices you use most often. For example, if you cook a lot of Indian food, grind cumin and coriander after the rice and garlic steps.
- Avoiding Cross-Contamination: If you use your mortar for both sweet and savory dishes, consider having two sets, or grind dry rice between uses to clear out lingering flavors.
- Using the Right Motion: Don’t just pound—use a circular grinding motion for better control and smoother pastes.
- Grinding Small Batches: Mortar and pestle works best for small amounts. Overloading makes grinding difficult and uneven.
- Storing Properly: Keep your mortar and pestle in a dry, ventilated space. Avoid leaving it in damp areas, as this can lead to mold, especially for wood and stone.
Credit: www.youtube.com
Comparing Mortar And Pestle To Other Tools
Many people ask if a food processor or spice grinder can replace a mortar and pestle. Here’s a quick comparison:
| Tool | Texture Produced | Best Use | Flavor Quality |
|---|---|---|---|
| Mortar and Pestle | Coarse to fine, customizable | Spices, pastes, herbs | Highest, releases oils |
| Spice Grinder | Fine powder | Dry spices only | Good, but no texture |
| Food Processor | Mixed, often uneven | Large batches, wet pastes | Good, less aroma |
Non-obvious insight: Mortar and pestle grinding doesn’t heat up ingredients like electric tools do, which means fresher flavors—especially for spices.
When To Re-season Your Mortar And Pestle
Over time, even a well-cared-for mortar and pestle may need a refresh. Here’s when to re-season:
- After long storage: If the tool has sat unused for months, dust and odors can build up.
- If you notice grit: Any sandiness or stone bits in your food means it’s time for another rice grind.
- If flavors linger: Strong spice or garlic smells that don’t go away with normal cleaning.
- After heavy or unusual use: For example, if you accidentally grind something very acidic or tough.
Re-seasoning is just repeating the rice, garlic, and (optionally) spice steps. For wood, re-oil as needed.
Storing Your Mortar And Pestle
Proper storage keeps your tool in good shape:
- Keep it dry: Moisture is the enemy of stone and wood.
- Avoid direct sunlight: This can fade or weaken some materials.
- Don’t stack heavy items on it: Stone mortars are strong, but dropping or stacking can cause cracks.
- Store pestle inside: Placing the pestle inside the mortar prevents loss and keeps both parts together.
For extra care, cover with a clean towel to keep dust away.
What To Avoid Grinding In Your Mortar And Pestle
Not every ingredient is safe for every mortar. Here’s what to avoid:
- Very hard grains: Like uncooked rice in ceramic mortars, as they can chip the bowl.
- Very wet or sticky foods: Can be hard to clean out of porous stone.
- Acidic ingredients: Like lemon or vinegar, especially in marble, as acids can etch the surface.
- Strong-smelling items: Like garlic, in wooden mortars, unless you want the flavor to linger.
If you’re unsure, check the manufacturer’s advice or do a quick online search for your specific material.

Credit: www.rotinrice.com
Frequently Asked Questions
How Long Does It Take To Season A Mortar And Pestle?
The full process, including drying times, usually takes about 1–2 hours. Most of that time is waiting for the tool to dry between steps.
Can I Use Soap To Clean My Mortar And Pestle After Seasoning?
For stone and wood mortars, avoid soap, as it can soak in and affect flavor. For ceramic or metal, mild soap is safe, but always rinse well.
What Should I Do If My Mortar Still Feels Gritty After Seasoning?
Repeat the rice grinding step until the rice stays white and there is no more dust. Some mortars, especially rough granite, may take several rounds.
Is It Necessary To Season A Second-hand Or Vintage Mortar And Pestle?
Yes, it’s a good idea. Old mortars can hold old flavors, dirt, or even mold. Season as you would a new one, but clean thoroughly first.
Where Can I Learn More About Mortar And Pestle Care?
For more detailed information and the history of this tool, visit the Wikipedia entry on mortar and pestle.
A well-seasoned mortar and pestle is more than just a kitchen tool—it’s a gateway to fresh, vibrant flavors. Taking the time to season and care for your set means every dish you make will taste cleaner, richer, and more authentic.
With these simple steps and tips, you’re ready to enjoy this ancient tool to its fullest. Happy grinding!