Your refrigerator door seal is more important than you might think. It’s the barrier that keeps cool air inside and warm air out.
When it’s torn or damaged, your fridge has to work harder to maintain the right temperature. This can lead to increased energy bills and food spoilage. But don’t worry; fixing a torn refrigerator door seal is something you can do yourself, saving you money and extending the life of your appliance.
In this guide, you’ll discover simple steps to repair your refrigerator door seal effectively. You don’t need to be a handyman to follow these easy instructions. With a little time and effort, your fridge will be back to keeping your food fresh and your energy costs down. Let’s dive in and fix that seal!
Tools Needed
Repairing a torn refrigerator door seal requires the right tools. Having the right tools at hand makes the process smoother and faster. This section will guide you through the essential tools needed for this task.
Phillips Screwdriver
A Phillips screwdriver is essential for removing screws from the door seal. It ensures a firm grip and easy maneuverability. A standard size works well for most refrigerator models.
Flathead Screwdriver
A flathead screwdriver helps lift the seal from its groove. It provides leverage without damaging the seal or the door. It’s useful for removing stubborn seals.
Heat Gun
A heat gun softens the seal, making it more pliable. This tool helps reshape the seal to fit the door frame snugly. Use it carefully to avoid melting the seal.
Cleaning Cloth
A clean cloth wipes away dust and dirt from the seal area. It ensures a clean surface for the new seal to adhere. A lint-free cloth works best.
Replacement Seal
A new replacement seal is crucial for repair. Ensure it’s compatible with your refrigerator model. Measure the old seal to get the right fit.
Glue Or Adhesive
Glue or adhesive secures the new seal in place. Choose a waterproof adhesive for durability. Apply evenly for a strong bond.
Utility Knife
A utility knife trims excess seal material. It ensures a perfect fit around corners. Handle with care for precise cutting.
With these tools, you can effectively repair your refrigerator door seal. Follow instructions carefully for the best results.
Identifying The Problem
Identifying the problem with your refrigerator door seal is crucial. A damaged seal can lead to energy loss and spoilage. Pinpointing the issue early saves money and food.
What Is A Refrigerator Door Seal?
The door seal is a flexible strip around the door edge. It ensures the door closes tightly, maintaining the internal temperature. It prevents warm air from entering the refrigerator.
Signs Of A Torn Door Seal
Check for visible tears or cracks. These gaps allow air to escape. Feel for cold air leaks around the door edge. Listen for unusual noises when the door is closed.
Why A Torn Seal Matters
A torn seal disrupts the cooling process. It causes the refrigerator to work harder, increasing energy bills. Food may spoil faster due to temperature fluctuations.
Simple Tests To Identify Problems
Perform a paper test. Place a sheet of paper in the door, then close it. If you can pull the paper out easily, the seal is weak. Look for moisture or frost buildup inside the fridge.
Visual Inspection Tips
Inspect the seal for discoloration or mold. Check for uneven gaps when the door is closed. Ensure the seal is properly aligned with the door frame.
Common Causes Of Seal Damage
Frequent opening and closing of the door can weaken the seal. Dirt and debris accumulation lead to wear and tear. Temperature changes can cause the seal to crack.
Removing The Old Seal
Gently peel away the old seal to begin fixing your refrigerator door. This step is crucial for ensuring a tight, energy-saving fit. Carefully removing the damaged seal prevents further issues and prepares the door for a new, efficient seal.
Removing the old seal from your refrigerator door might seem daunting, but it’s a manageable task with the right approach. You might have noticed your fridge isn’t cooling as efficiently or your energy bill is creeping up. A damaged door seal could be the culprit. Tackling this repair yourself can save you money and extend the life of your appliance. Let’s dive into how you can remove the old seal efficiently.Gather Your Tools
Before you start, ensure you have the right tools at hand. You’ll need a screwdriver, a pair of pliers, and a bucket of warm, soapy water. The screwdriver helps you unscrew the door liner, while pliers assist in pulling out stubborn seal remnants. Warm, soapy water is perfect for cleaning the area once the old seal is removed.Inspect The Seal
Look closely at the seal for any visible tears or wear. Run your fingers along the edges to detect any areas where the seal isn’t sitting flush. This inspection helps you understand how much of the seal needs removal and where to focus your efforts. You might be surprised at how a small tear can affect the fridge’s efficiency.Loosen The Seal
Use your screwdriver to gently remove the screws securing the seal to the door. Be patient; these screws might be tight. If your screws are stuck, apply a bit of elbow grease, but be careful not to strip them. Once loosened, you can begin to peel the seal away from the door.Peel Off The Seal
Start at one corner and slowly peel the seal away. You might need to use pliers for stubborn sections. If the seal feels stuck, a gentle tug usually helps, but avoid pulling too hard to prevent damaging the door. Remember, the aim is to remove the seal without harming the door frame.Clean The Area
Once the seal is off, clean the door edge with warm, soapy water. This step removes any debris left behind and prepares the surface for the new seal. A clean surface ensures the new seal adheres properly and maintains its efficiency. It’s tempting to skip this step, but cleanliness here is crucial. Removing the old seal is a straightforward task, yet it requires attention to detail. Have you ever considered how much a simple seal can impact your fridge’s performance? Taking on this DIY project not only saves you repair costs but also offers a deeper understanding of your appliance. Are you ready to transform your fridge’s efficiency?Preparing The New Seal
Fixing a torn refrigerator door seal can improve cooling efficiency. Start by cleaning the seal and removing debris. Then, use adhesive to patch the tear, ensuring the seal aligns properly for a tight closure. Regular maintenance helps keep your fridge running smoothly.
Preparing the new seal is a crucial step in repairing a torn refrigerator door seal. This task ensures your fridge maintains its energy efficiency and keeps your food fresh. A well-prepared seal is key to a successful repair, so let’s dive into the steps you should take to get your new seal ready.Understand The Type Of Seal Needed
First things first, identify the type of seal your refrigerator requires. Different fridge models use various types of seals. Check the model number of your fridge, usually found inside the fridge door, and use it to find the appropriate replacement seal. Using the wrong seal can lead to improper fitting and energy inefficiency.Gather Your Tools
You need a few tools to prepare and install a new seal. A hairdryer can soften the seal, making it easier to install. A flathead screwdriver or a putty knife will help you remove the old seal. Make sure you have these tools within reach before starting the replacement process.Inspect The New Seal
Once you have the new seal, inspect it for any damages or imperfections. Look out for any tears or bends that may affect its performance. If you notice any issues, contact the supplier for a replacement. You don’t want to go through the hassle of installing a faulty seal.Soften The Seal
A new seal might be stiff due to packaging. Use a hairdryer to gently heat the seal. This will soften it, making installation easier and more effective. Be careful not to overheat as this might cause damage.Clean The Seal Groove
Before placing the new seal, clean the groove where the old seal was. Residue or grime can prevent the new seal from fitting properly. Use a damp cloth to wipe away any dirt or debris. This simple step can make a huge difference in how well the new seal adheres.Test The Fit
Before securing the seal permanently, test fit it around the door. Check for any areas where the seal doesn’t sit correctly. Adjust as necessary to ensure a snug fit. A well-fitted seal keeps cold air in and warm air out, ensuring your fridge runs efficiently. By following these steps, you’re setting yourself up for a successful seal replacement. Have you ever replaced a refrigerator seal before? What challenges did you face? Share your experiences in the comments!Installing The New Seal
Installing a new refrigerator door seal can enhance efficiency and save energy. A well-fitted seal keeps cold air in and warm air out. This ensures your fridge runs smoothly. Follow these steps to replace your refrigerator door seal effectively.
Step 1: Prepare The New Seal
Before installation, remove the new seal from its packaging. Let it sit at room temperature for a few hours. This helps the seal become more flexible and easier to work with. You might notice some kinks or bends. Use a hairdryer on a low setting to straighten them out gently.
Step 2: Align The New Seal
Begin at the top corner of the refrigerator door. Place the seal’s lip into the groove. Ensure it lines up perfectly. Align the rest of the seal along the door edge. Make sure there are no twists or misalignments. This ensures a perfect fit.
Step 3: Secure The Seal
Once aligned, press the seal firmly into the groove. Start from the top and work your way down. Use your fingers to ensure it’s snug and secure. Pay special attention to the corners. They can be tricky and may need extra pressure.
Step 4: Check The Seal
Close the refrigerator door slowly. Inspect the seal for gaps or misalignments. A dollar bill test can help. Place a bill between the seal and the door. Pull it out gently. If it slides out easily, the seal might need adjustment.
Step 5: Make Final Adjustments
If the seal doesn’t fit perfectly, adjust it. Use a screwdriver to loosen the screws holding the seal. Reposition as needed, then tighten the screws. Ensure the seal is even and tight all around.
By following these steps, your refrigerator will function more efficiently. A well-installed seal saves energy and keeps food fresh.

Credit: applianceexpresstx.com
Testing The Repair
Testing the repair is a crucial step in fixing a refrigerator door seal. It ensures the seal holds tight and keeps the fridge efficient. A well-sealed door maintains the right temperature and saves energy. This section will guide you through simple steps to test your repair.
Visual Inspection
Begin with a close look at the repaired seal. Check for gaps or misalignments. The seal should sit evenly against the fridge. Ensure there are no visible damages or tears. A smooth seal indicates a good repair.
Paper Test
Use a piece of paper to test the seal. Place it between the door and the fridge. Close the door and try to pull the paper out. A tight seal should hold the paper firmly. Repeat this around the entire door.
Temperature Check
Monitor the fridge’s temperature after the repair. A well-sealed door keeps a consistent temperature. Use a thermometer inside the fridge. Check if the temperature remains stable over several hours.
Moisture And Frost Check
Look inside the fridge for signs of moisture or frost. These indicate air leaks through the seal. A properly sealed door prevents moisture build-up. Ensure the interior is dry and frost-free.
Listen For Unusual Sounds
Listen for any strange noises from the fridge. A leaking seal may cause the fridge to work harder. This can lead to unusual sounds. A quiet fridge suggests a successful repair.
Maintenance Tips
Regular maintenance of your refrigerator door seal ensures efficient cooling. A well-maintained seal keeps your energy bills low and extends the life of your appliance. Follow these simple tips to maintain the seal and avoid costly repairs.
Inspect The Seal Regularly
Check the seal for any tears or gaps. Use a flashlight to spot hidden damage. Ensure the seal fits snugly against the door frame.
Clean The Seal
Dust and grime can weaken the seal. Use a damp cloth with mild detergent. Clean the seal every three months to keep it flexible.
Check For Mold
Mold can form in damp areas. Inspect the seal for black spots. Clean with vinegar to kill mold and prevent growth.
Test For Air Leaks
Close the door on a piece of paper. Try pulling it out gently. If it slips out easily, the seal might need replacing.
Adjust The Refrigerator Door
Ensure the door hangs evenly. Use a screwdriver to tighten loose hinges. This prevents stress on the seal.
Apply Petroleum Jelly
Rub a thin layer on the seal. It helps keep the seal flexible. Apply every few months for best results.
Avoid Overloading The Door
Heavy items can damage the seal. Distribute weight evenly on the door shelves. This prevents unnecessary strain.
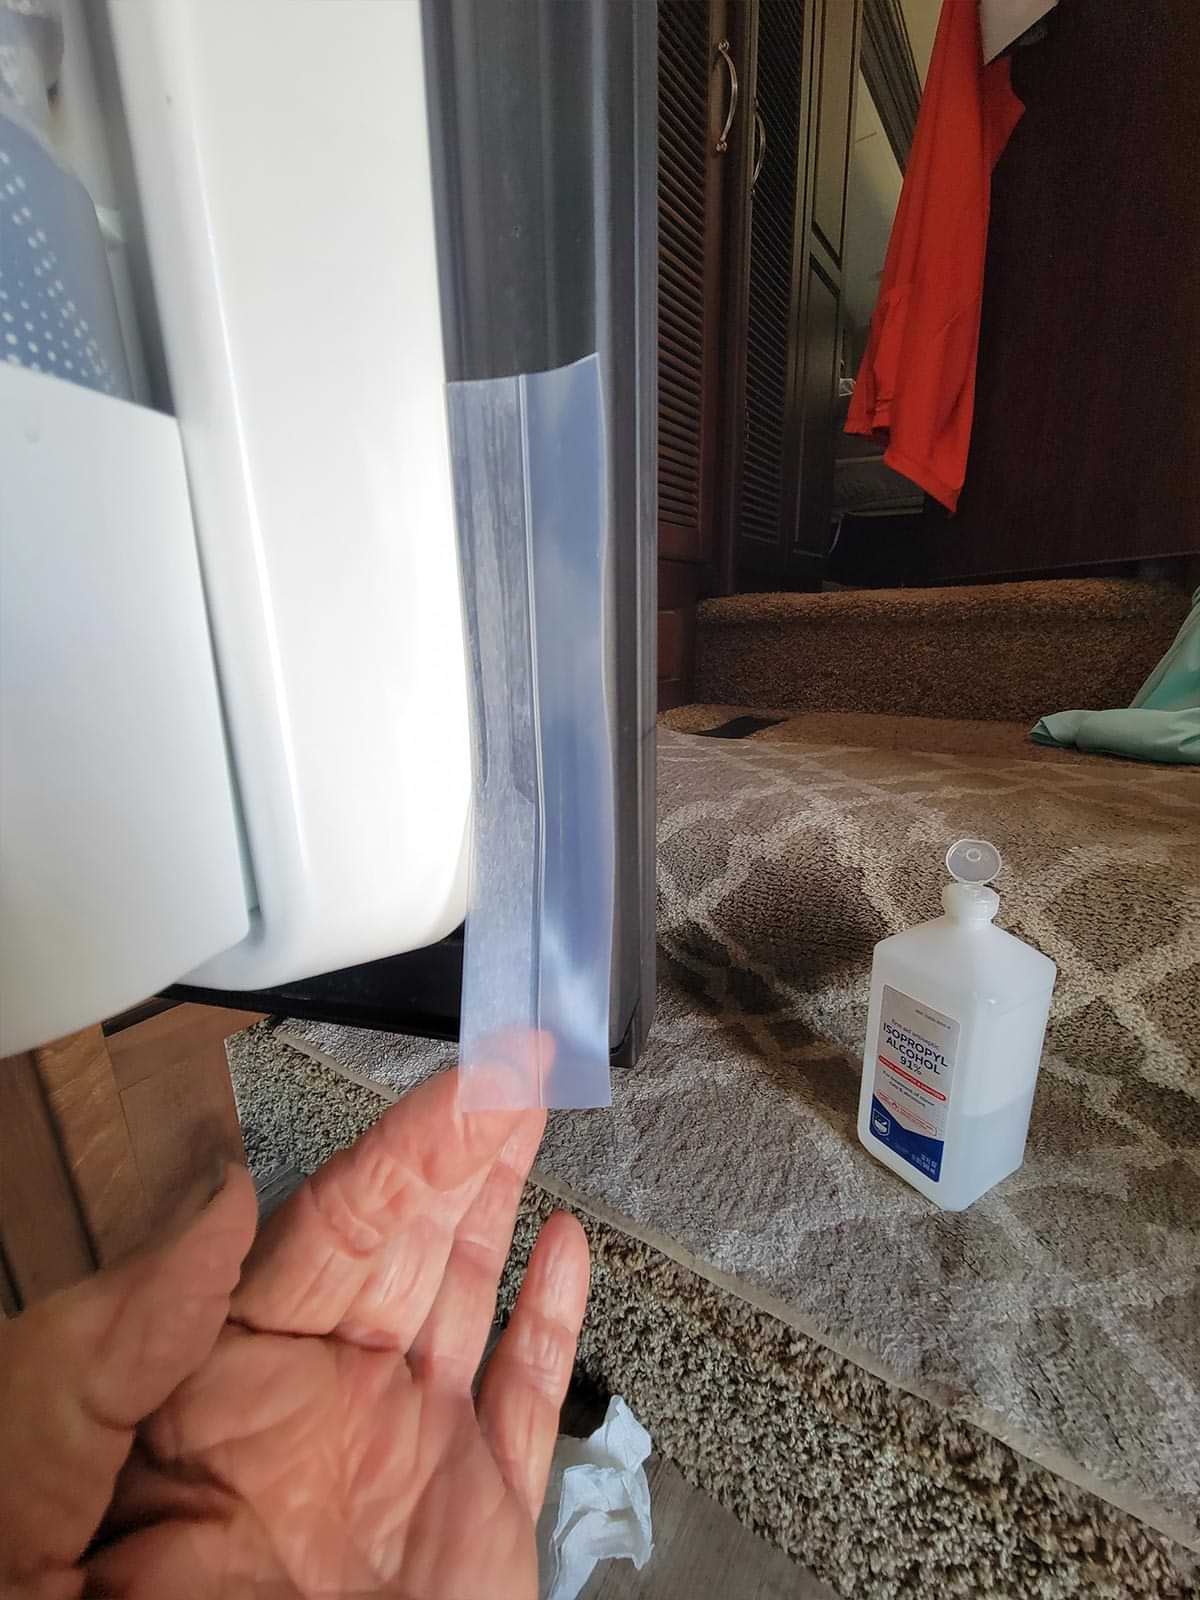
Credit: rventhusiast.com

Credit: www.partselect.com
Frequently Asked Questions
How Do I Identify A Torn Door Seal?
Check for gaps or air leaks. Feel for cold air escaping. Use a flashlight to spot tears.
Can I Repair A Refrigerator Door Seal Myself?
Yes, you can. Use silicone sealant or adhesive to fix small tears. Replace larger damaged sections.
What Tools Do I Need To Repair A Seal?
Use a screwdriver, silicone sealant, adhesive, and a flashlight. These tools help fix minor issues.
How Often Should I Check My Refrigerator Door Seal?
Check every six months. Regular checks prevent energy loss and keep your fridge efficient.
Why Is My Refrigerator Door Seal Important?
It keeps cold air inside. Helps maintain temperature. Saves energy. Protects food from spoiling quickly.
Conclusion
Repairing a torn refrigerator door seal is simple and cost-effective. First, gather your tools and materials. Clean the seal and surrounding area. Apply adhesive to the torn edges. Press the seal back into place. Let it dry completely before using the fridge.
Regular maintenance ensures efficiency and saves energy. Check your seal periodically for wear and tear. Replace if necessary to keep your refrigerator working well. This easy fix keeps food fresh and your appliance in top shape. Enjoy a well-sealed fridge and lower energy bills.
Happy repairing!