Imagine stepping into your bathroom, ready to indulge in a relaxing bath after a long day. But there it is—a tiny hairline crack in your fiberglass tub staring back at you.
It might seem small, but you know it could lead to bigger problems if not addressed. The good news? You can fix it yourself without spending a fortune on professional repairs. This guide will show you how to tackle that pesky crack with confidence and precision.
By the end, you’ll not only have a flawless tub but also the satisfaction of knowing you did it yourself. Curious to learn how? Let’s dive into the simple steps that will restore your tub to its former glory.
Identifying Hairline Cracks
Identifying hairline cracks in a fiberglass tub is crucial for effective repair. These small cracks can worsen over time if ignored. Recognizing them early can save you from costly replacements.
What Are Hairline Cracks?
Hairline cracks are thin lines visible on the surface. They often appear due to stress or impact. Sometimes, temperature changes also cause these cracks.
Signs Of Hairline Cracks
Look for faint lines on the tub’s surface. These lines may feel rough when touched. Water leakage can indicate deeper issues.
Tools For Identifying Cracks
A magnifying glass helps spot tiny cracks. Use a flashlight to inspect the tub. Proper lighting reveals hidden damage.
Common Areas For Cracks
Check corners and edges of the tub. These areas often develop cracks first. Examine the bottom for any visible lines.
Why Prompt Identification Matters
Early detection prevents further damage. Fixing small cracks avoids costly repairs. Keeping your tub in good condition ensures longevity.
Necessary Tools And Materials
To fix a hairline crack in a fiberglass tub, gather essential tools like sandpaper, epoxy resin, and a fiberglass repair kit. Ensure you also have a clean cloth and a small brush. These materials help in creating a smooth and durable repair.
To fix a hairline crack in a fiberglass tub, you need the right tools and materials. This ensures the repair is effective and long-lasting. Understanding what you’ll need can make the process smoother and easier.Safety Gear
Safety is crucial when repairing fiberglass. Wear goggles to protect your eyes from dust and chemicals. Use gloves to keep your hands safe. A mask will help you avoid inhaling harmful fumes. These items protect you during the repair process.Repair Kits
Repair kits are essential for fixing cracks. They often contain fiberglass patches, resin, and hardener. Choose a kit designed for fiberglass tubs. These kits provide everything needed for a strong repair. Follow the instructions carefully for best results.Cleaning Supplies
Clean the tub before starting the repair. Use a mild detergent to remove dirt and grime. An abrasive pad can help scrub away stubborn stains. Rinse thoroughly to ensure no residue remains. A clean surface allows the repair materials to bond better.Preparing The Tub Surface
Begin by cleaning the tub with mild soap and water. Ensure the surface is dry and free from dust. This prepares the area for effective crack repair.
Preparing the surface of your fiberglass tub is crucial before fixing a hairline crack. This step ensures that the repair materials adhere properly, providing a lasting solution. You might be surprised at how much difference a clean and dry surface can make. Imagine you’ve just cleaned your tub, and it looks spotless. Now, imagine how much more effective your repair will be with that same level of cleanliness. You’ll find that attention to detail in these early stages pays off in the long run.Cleaning The Area
To start, gather your cleaning supplies. A mild dish soap, warm water, and a soft sponge are your best friends here. Begin by applying soap to the sponge and gently scrubbing the area around the crack. Dirt and soap scum can hinder the repair process. As you scrub, you might discover hidden grime that could’ve compromised the adhesive. Rinse thoroughly to ensure no soap residue is left behind. A clean surface means a stronger bond. Take a moment to inspect the area; any remaining dirt might mean another round of cleaning is needed.Drying The Surface
Once cleaned, the next step is drying. Grab a clean towel and gently pat the area dry. Residual moisture can weaken the repair, so be thorough. Air drying is also effective, but it takes time. If you’re in a hurry, consider using a hairdryer set to a cool setting. Feel the surface with your hand. Is it dry? If there’s any dampness, wait or use the hairdryer again. A completely dry surface is key to a successful repair. Have you ever rushed a drying process only to have it backfire? Take this opportunity to ensure it doesn’t happen again. A bit of patience here can save you from future headaches. What’s your take on preparation? Do you believe it makes a difference in repair success? Let’s dive into this process, and you’ll see the benefits firsthand.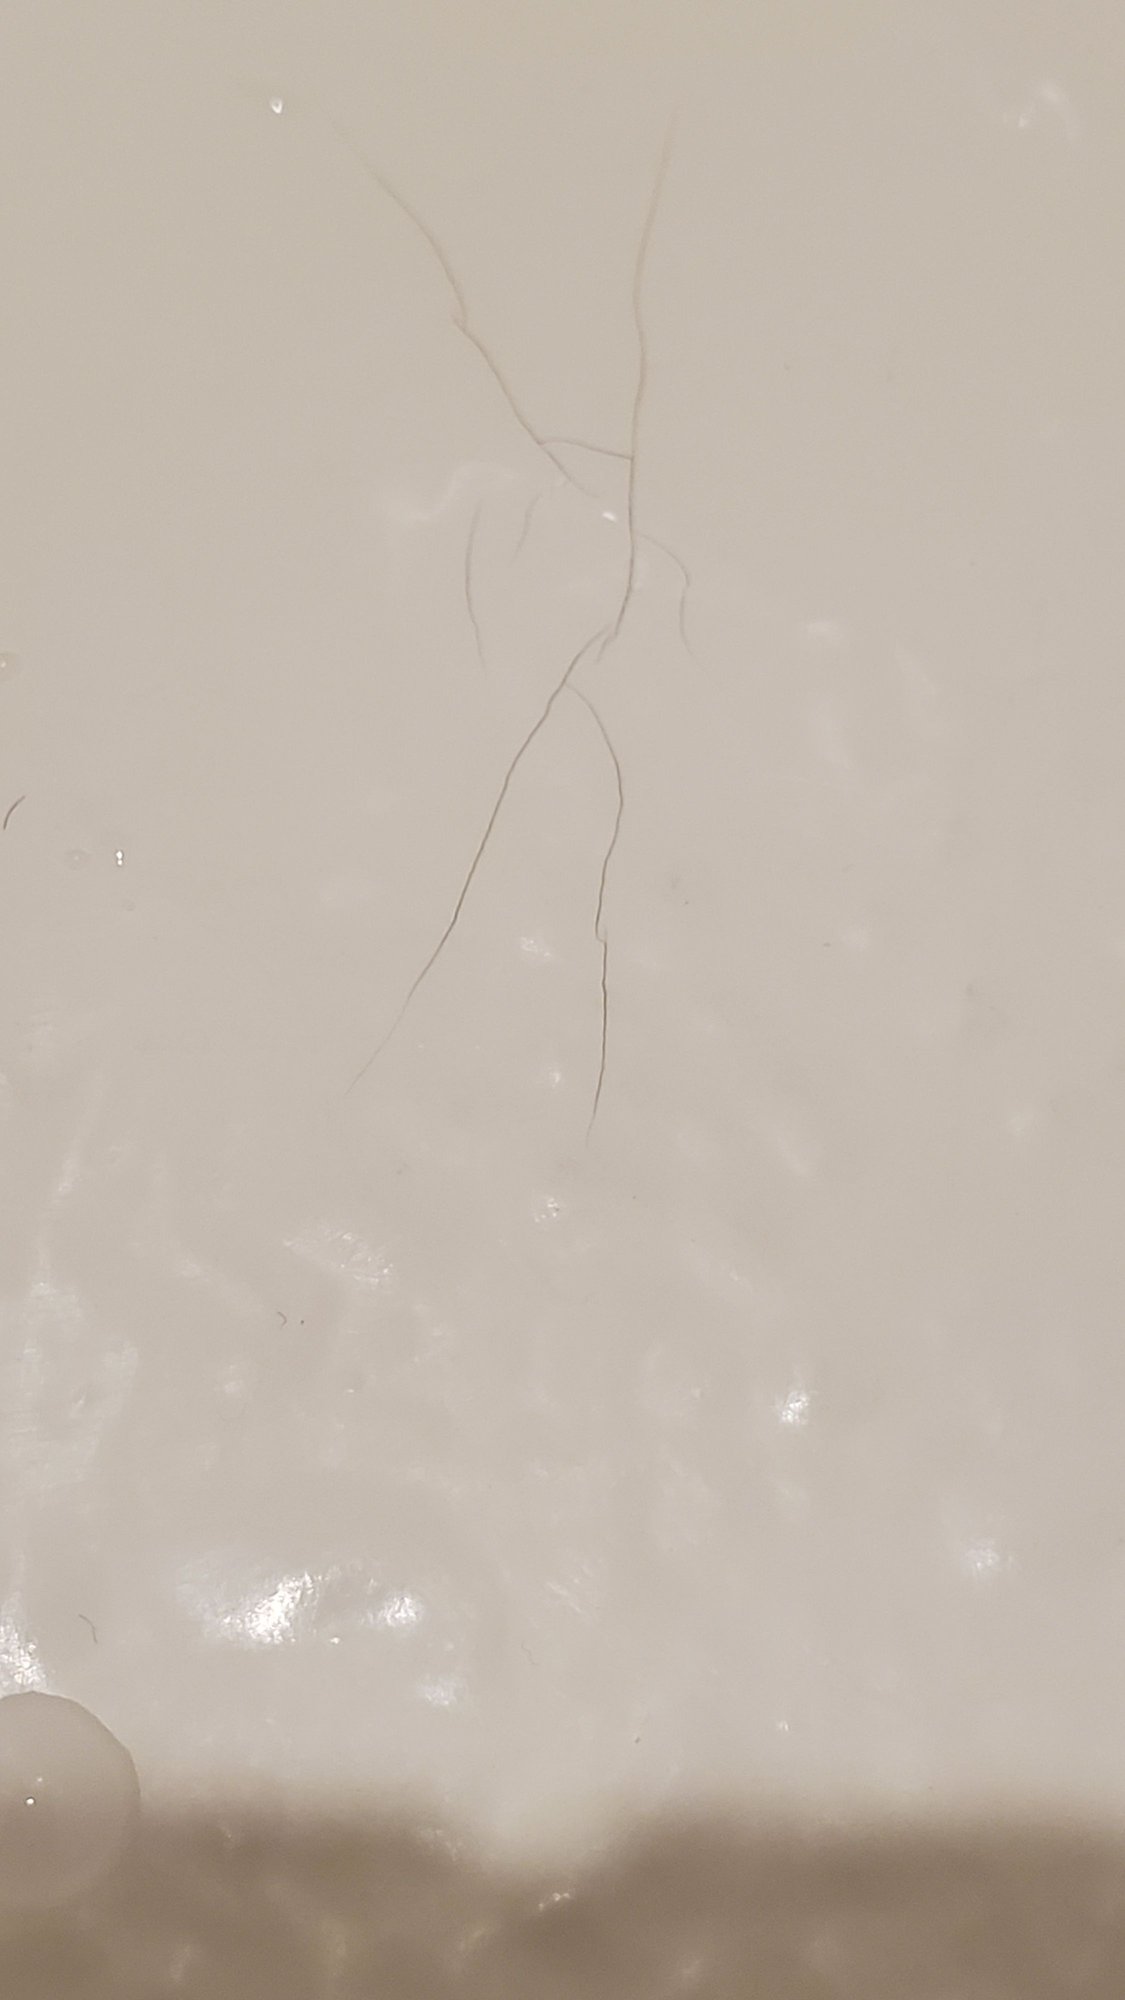
Credit: www.doityourself.com
Applying The Repair Solution
Fixing a hairline crack in a fiberglass tub requires precision. The repair solution must bond well with the tub surface. This ensures long-lasting results. Follow these steps to apply the repair solution effectively.
Mixing The Compound
Start by selecting the right compound for fiberglass. Read the product instructions carefully. Pour the recommended amount into a mixing container. Stir the compound thoroughly. Make sure the mixture is smooth and even. This guarantees proper adhesion and strength.
Filling The Crack
Use a small brush or applicator to apply the compound. Press gently into the crack. Ensure the compound fills the entire length of the crack. Smooth the surface with a spatula. This removes any excess compound. Check that the surface is even and level. Let the compound dry completely before using the tub.
Sanding And Smoothing
Repairing a hairline crack in a fiberglass tub requires precision. Sanding and smoothing ensure a flawless finish. Proper sanding prepares the surface for repair. It enhances the bond of the repair material. Smoothing removes imperfections, creating a seamless look. This step is crucial for durability and aesthetics.
Choosing The Right Sandpaper
Selecting the correct sandpaper is vital for a smooth finish. Use fine-grit sandpaper, around 220 grit, for gentle sanding. It removes old polish and roughens the crack area. This ensures the repair material adheres well. Avoid coarse sandpaper; it may damage the tub. Test the sandpaper on a small area first.
Polishing The Surface
Once sanding is complete, polishing follows. Use a soft cloth to buff the area. A gentle polish removes sanding marks. It enhances the tub’s shine and smoothness. Ensure a consistent motion to avoid streaks. For best results, use a fiberglass polish. It restores the tub’s original luster.
Final Touches
Completing a fiberglass tub repair requires attention to detail. The final touches ensure a smooth finish. These steps add durability to your repair. Don’t skip them. They are crucial for a long-lasting fix. Let’s dive into the final stages of your project.
Reapplying Finish
Once the patch has dried, it’s time to reapply the finish. Choose a color that matches your tub. Use a small brush for precision. Apply the finish in even strokes. Let it dry completely. This step seals the repair. It also helps blend the patch with the tub. The goal is an invisible repair.
Inspection For Completeness
After applying the finish, inspect your work. Look for any inconsistencies. Check for rough spots or uneven areas. Use your hand to feel the surface. It should be smooth. If needed, apply another finish coat. Ensure complete coverage. A thorough inspection prevents future issues.
Preventative Measures
Repairing hairline cracks in fiberglass tubs prevents further damage. Clean the area, apply fiberglass filler, and sand smoothly. Seal the repair to maintain durability and prevent leaks.
When dealing with hairline cracks in a fiberglass tub, taking preventative measures is your best line of defense. While repairs can be effective, it’s always better to avoid damage in the first place. By adopting a few simple habits, you can extend the life of your tub and keep it looking pristine.Regular Maintenance
Regular maintenance is crucial for preventing hairline cracks. Cleaning your fiberglass tub with mild, non-abrasive cleaners ensures that no harsh chemicals degrade the surface. Make a habit of checking for any signs of wear or small cracks during your cleaning routine. A personal tip: I once noticed a small crack during my weekly cleaning. Addressing it early saved me from a more extensive repair later. Do you have a weekly cleaning schedule? If not, consider creating one to prevent unnoticed damage.Avoiding Heavy Impact
Heavy impact is a common cause of cracks in fiberglass tubs. Avoid placing heavy objects in the tub, or accidentally dropping items like shampoo bottles or showerheads. Think of the tub as a delicate surface. Even small impacts can lead to hairline cracks over time. Consider installing a bath mat with suction cups to prevent items from slipping and causing damage. Have you ever experienced a slip in the tub? A mat might just be the simple fix you need to prevent future mishaps. By following these preventative measures, you can maintain the integrity of your fiberglass tub and keep it free from hairline cracks. What steps will you take to ensure your tub stays in top condition?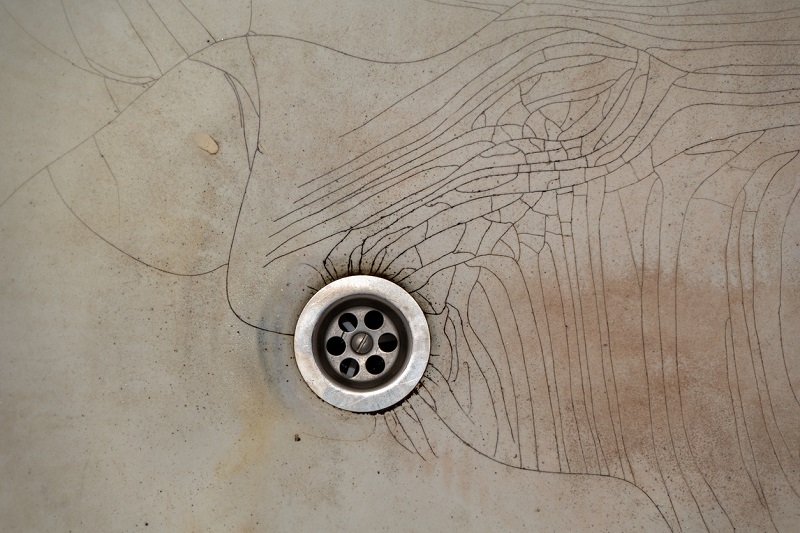
Credit: www.badeloftusa.com
Credit: plumbers911.com
Frequently Asked Questions
What Causes Hairline Cracks In Fiberglass Tubs?
Hairline cracks often result from age, stress, or improper installation. They can also occur due to temperature changes.
Can Hairline Cracks In Fiberglass Tubs Be Repaired?
Yes, you can fix them at home with a fiberglass repair kit. It’s an easy process.
Is It Safe To Use A Tub With Hairline Cracks?
Using a cracked tub can lead to water damage. It’s best to repair it soon.
How Long Does A Fiberglass Repair Take?
Repairing a fiberglass crack usually takes a few hours. Drying time included.
Do I Need Professional Help For Fiberglass Tub Cracks?
Small cracks can be DIY fixed. Bigger issues might need a professional.
Conclusion
Fixing hairline cracks in fiberglass tubs is simple. A few tools and some patience can make your tub look new again. Start by cleaning the area. Apply filler and sand smoothly. Don’t forget to seal it well. Regular maintenance helps prevent future damage.
Check often for small cracks. Quick repairs save time and money. With these tips, your tub remains sturdy and beautiful. Repairing cracks is a straightforward task. Keep your bathroom looking its best with a little care and attention.