To spray texture, the air pressure needed depends on the type of texture being sprayed. The recommended air pressure for most texture sprayers is between 25 and 40 pounds per square inch (psi).
However, it is important to note that different textures may require different air pressure settings for optimal results. It is best to consult the manufacturer’s instructions or seek guidance from a professional to determine the exact air pressure needed for your specific texture application.
Using the correct air pressure ensures proper atomization and distribution of the texture material, resulting in a smooth and consistent finish.
Introduction To Spray Texturing
Spray texturing is a popular method used to add visual interest and depth to walls and ceilings. This technique involves using a texture sprayer, which is a tool that applies a textured finish to surfaces, creating effects such as orange peel or knockdown textures.
The Basics Of Texture Spraying
Texture spraying involves the application of a textured material onto surfaces, typically drywall, to create a decorative or protective finish. The process requires the use of a texture gun or sprayer, along with an air compressor to propel the texture material onto the surface.
Importance Of Proper Air Pressure
Proper air pressure is crucial in texture spraying as it directly impacts the quality and consistency of the texture application. The right air pressure ensures that the texture material is atomized and propelled onto the surface evenly, resulting in a uniform texture finish.
Types Of Textures
When it comes to applying texture to walls or ceilings, there are various types of textures to choose from, each providing a unique finish. Understanding the different types of textures and their application methods can help you achieve the desired look for your project.
Orange Peel And Knockdown Textures
Orange peel texture and knockdown texture are popular choices for adding visual interest to walls. The orange peel texture creates a slightly bumpy surface, resembling the texture of an orange peel, while knockdown texture involves spraying a texture mixture onto the surface and then flattening it with a trowel to create a subtle, mottled effect.
Popcorn Ceilings And Special Finishes
Popcorn ceilings, also known as acoustic ceilings, feature a bumpy texture that resembles popcorn. Special finishes, such as skip trowel and sand swirl, offer unique textures that add depth and character to the surfaces. Each of these textures requires specific air pressure and spray techniques for optimal results.
Tools Of The Trade
When it comes to spraying texture, having the right tools is essential for achieving professional-looking results. Two key components of the texture spraying process are selecting the right texture gun and understanding air compressors for texturing. Let’s take a closer look at each of these elements:
Selecting The Right Texture Gun
When selecting a texture gun, there are a few factors to consider. First, you’ll want to choose a gun that is specifically designed for spraying texture. These guns typically have a larger nozzle size and a wider spray pattern, allowing for even distribution of the texture material.
Next, consider the type of texture you’ll be spraying. Different guns are better suited for different textures, such as orange peel or knock-down. Be sure to choose a gun that is compatible with the texture you’ll be working with to achieve the desired finish.
Lastly, consider the weight and ergonomics of the gun. Texture spraying can be a time-consuming process, so it’s important to choose a gun that is comfortable to hold and maneuver for extended periods.
Understanding Air Compressors For Texturing
An air compressor is a crucial component of the texture spraying process, as it provides the necessary air pressure to atomize the texture material and propel it onto the surface. When it comes to selecting an air compressor for texturing, there are a few key factors to consider.
The first factor is the air pressure requirement. The ideal air pressure for texture spraying can vary depending on the texture material and the desired finish. It’s important to consult the manufacturer’s guidelines or seek advice from professionals in order to determine the optimal air pressure for your specific application.
Another factor to consider is the volume of air the compressor can deliver, measured in cubic feet per minute (CFM). A higher CFM rating means the compressor can supply a larger volume of air, which is important for maintaining a consistent spray pattern and preventing clogs or uneven texture distribution.
Additionally, consider the tank size of the compressor. A larger tank can hold more compressed air, allowing for longer continuous spraying without interruptions to refill the tank.
By selecting the right texture gun and understanding air compressors for texturing, you’ll be equipped with the necessary tools to achieve professional-quality texture finishes. Take the time to research and invest in high-quality tools that will make your texture spraying process more efficient and effective.
The Role Of Air Pressure
To spray texture, the air pressure needed depends on the type of texture and the specific equipment being used. Different textures may require different air pressures to achieve the desired result. It’s important to adjust the air pressure to suit the texture being sprayed for optimal application and quality.
Why Psi Matters
When it comes to spraying texture, understanding the role of air pressure is crucial. The PSI (pounds per square inch) of your air compressor determines the force with which the texture is sprayed onto the surface. The PSI setting directly affects the texture’s consistency, coverage, and overall quality.
Effects Of Too High Or Too Low Psi
Using the right PSI is essential for achieving the desired texture finish. If the air pressure is too high, the texture may be applied too forcefully, resulting in a heavy and uneven texture. This can lead to drips, runs, and an inconsistent appearance. On the other hand, if the air pressure is too low, the texture may not adhere properly to the surface, resulting in a thin and patchy finish.
Here is a breakdown of the effects of too high or too low PSI:
- Too High PSI:
- Heavy and uneven texture application
- Drips and runs
- Inconsistent texture appearance
- Too Low PSI:
- Thin and patchy texture application
- Inadequate adhesion to the surface
- Poor texture coverage
To ensure a successful texture spraying process, it is important to find the right balance of air pressure. This can be achieved through experimentation and practice. Start with a moderate PSI setting and adjust accordingly based on the desired texture outcome.
Remember, the air pressure used for texture spraying may vary depending on the specific texture product and application technique. It is always recommended to refer to the manufacturer’s guidelines and instructions for the optimal PSI range.
By understanding the role of air pressure and its effects on texture application, you can achieve professional-looking results and avoid common texture spraying pitfalls.
Finding The Sweet Spot
To achieve the perfect texture when spraying, it’s essential to find the sweet spot for air pressure. Adjust the pressure to ensure a smooth and consistent application, avoiding any clogging or splattering issues. Experiment with different pressure levels to determine the ideal setting for your specific texture application.
Recommended Psi Ranges
When it comes to spraying texture, finding the right air pressure can make all the difference. The recommended PSI (pounds per square inch) range for texture spraying typically falls between 20 and 60 PSI. However, the specific PSI required for your particular texture can vary based on several factors, including the texture type, the size of the nozzle on your spray gun, and the thickness of the texture mix.
Adjusting Psi For Different Textures
To find the sweet spot for your texture, start by testing a small area using the recommended PSI range for your texture type. If the texture is too thick or too heavy, you may need to increase the PSI slightly to achieve the desired coverage. On the other hand, if the texture is too thin or too runny, you may need to decrease the PSI to prevent overspray or uneven coverage.
It’s important to note that adjusting the PSI can impact the texture’s appearance and consistency. For example, lower PSI can result in a more subtle texture, while higher PSI can produce a more pronounced texture. Experiment with different PSI levels until you find the perfect balance for your texture.
Additional Tips
Here are a few additional tips to keep in mind when adjusting your air pressure for texture spraying:
- Always start by testing a small area before committing to a larger project.
- Adjust the PSI in small increments to avoid overcorrection.
- Keep the gun at a consistent distance from the surface for even coverage.
- Clean your spray gun thoroughly after each use to prevent clogs and buildup.
By following these tips and adjusting your PSI based on your texture type and desired results, you can achieve a beautiful and consistent texture every time.
Credit: www.pawnamerica.com
Technique And Application
To achieve the ideal texture, the air pressure for spraying should be set between 20 to 30 PSI. Adjust the pressure as needed to achieve the desired texture consistency and ensure proper coverage. Using the appropriate air pressure is crucial for achieving a professional finish when spraying texture.
Spraying Tips For Consistency
When it comes to achieving a consistent texture with your spray gun, there are a few tips to keep in mind. First, make sure to mix your texture thoroughly before pouring it into the hopper. This will ensure that the texture is evenly distributed throughout the mixture and will prevent clumps from clogging your spray gun. Additionally, it’s important to maintain a consistent air pressure throughout the entire application process. This can be achieved by adjusting the pressure regulator on your air compressor and periodically checking the pressure gauge on your spray gun.
Handling Corners And Edges
Spraying texture on corners and edges can be tricky, but with a few techniques, you can ensure a smooth and consistent finish. One approach is to spray the texture at a slight angle, aiming the spray gun towards the corner and moving it in a back-and-forth motion. This will help to distribute the texture evenly along the corner and prevent buildup in one area. Another option is to use a smaller nozzle size on your spray gun, which will allow for more precise control over the texture application. It’s important to test out these techniques on a small section of the wall before attempting the entire project.
Choosing The Right Air Pressure
Determining the proper air pressure for your spray gun will depend on the type of texture you are using and the size of the nozzle on your spray gun. Generally, a pressure range of 20-40 PSI is suitable for most textures, but it’s important to check the manufacturer’s instructions for specific recommendations. Keep in mind that a higher pressure may result in a coarser texture, while a lower pressure may produce a finer texture. Be sure to test out different pressure settings on a small section of the wall to determine the ideal pressure for your specific project.
By following these spraying tips for consistency, handling corners and edges, and choosing the right air pressure, you can achieve a professional-looking texture finish on your walls. It’s important to take the time to test out different techniques and pressure settings before tackling the entire project to ensure that you achieve the desired result. Remember to always wear proper safety gear, such as goggles and a mask, when working with texture sprayers.
Troubleshooting Common Issues
When it comes to spraying texture, it’s not uncommon to encounter some common issues that can affect the quality and consistency of the finished result. Understanding how to troubleshoot these issues can help you achieve the desired texture finish with minimal hassle. In this section, we will address two common issues that may arise during the texture spraying process: addressing pattern inconsistencies and dealing with equipment malfunctions.
Addressing Pattern Inconsistencies
Pattern inconsistencies in sprayed texture can be frustrating, but they can often be resolved by adjusting the air pressure of the spray gun. Here are a few steps you can take to address this issue:
- Check the air pressure: Make sure the air pressure is set at the recommended level for the specific texture material you are using. Refer to the manufacturer’s guidelines or consult with a professional if you are unsure.
- Adjust the air pressure: If you notice that the texture is not being sprayed evenly or the pattern is inconsistent, try increasing or decreasing the air pressure gradually to find the optimal setting. Keep in mind that different textures may require different air pressure levels.
- Test and adjust: Before spraying the entire surface, it’s a good idea to test the texture on a small area. This will allow you to make any necessary adjustments to the air pressure before proceeding.
- Consistent spraying technique: Ensure that you are maintaining a consistent spraying technique throughout the entire process. Inconsistent movement or spraying speed can also contribute to pattern inconsistencies.
Dealing With Equipment Malfunctions
Equipment malfunctions can also impact the outcome of your texture spraying. Here are some common equipment issues and how to address them:
- Clogged nozzle: A clogged nozzle can cause uneven texture application. To resolve this issue, clean the nozzle thoroughly with warm water or a specialized cleaning solution, depending on the type of texture material you are using.
- Leaking or dripping gun: If you notice any leaks or drips coming from the gun, check the seals and connections for any damage or loose fittings. Tighten or replace them as needed.
- Inadequate compressor pressure: If your air compressor is not providing enough pressure, it can affect the texture spraying process. Check the compressor’s pressure gauge and adjust it to the recommended PSI for your specific texture material.
- Maintenance and upkeep: Regular maintenance and cleaning of your spray gun and compressor can help prevent equipment malfunctions. Follow the manufacturer’s instructions for proper maintenance and ensure that all components are in good working condition.
By troubleshooting these common issues, you can ensure a smoother and more successful texture spraying process. Remember to follow the manufacturer’s guidelines, make necessary adjustments, and maintain your equipment properly to achieve the desired texture finish.

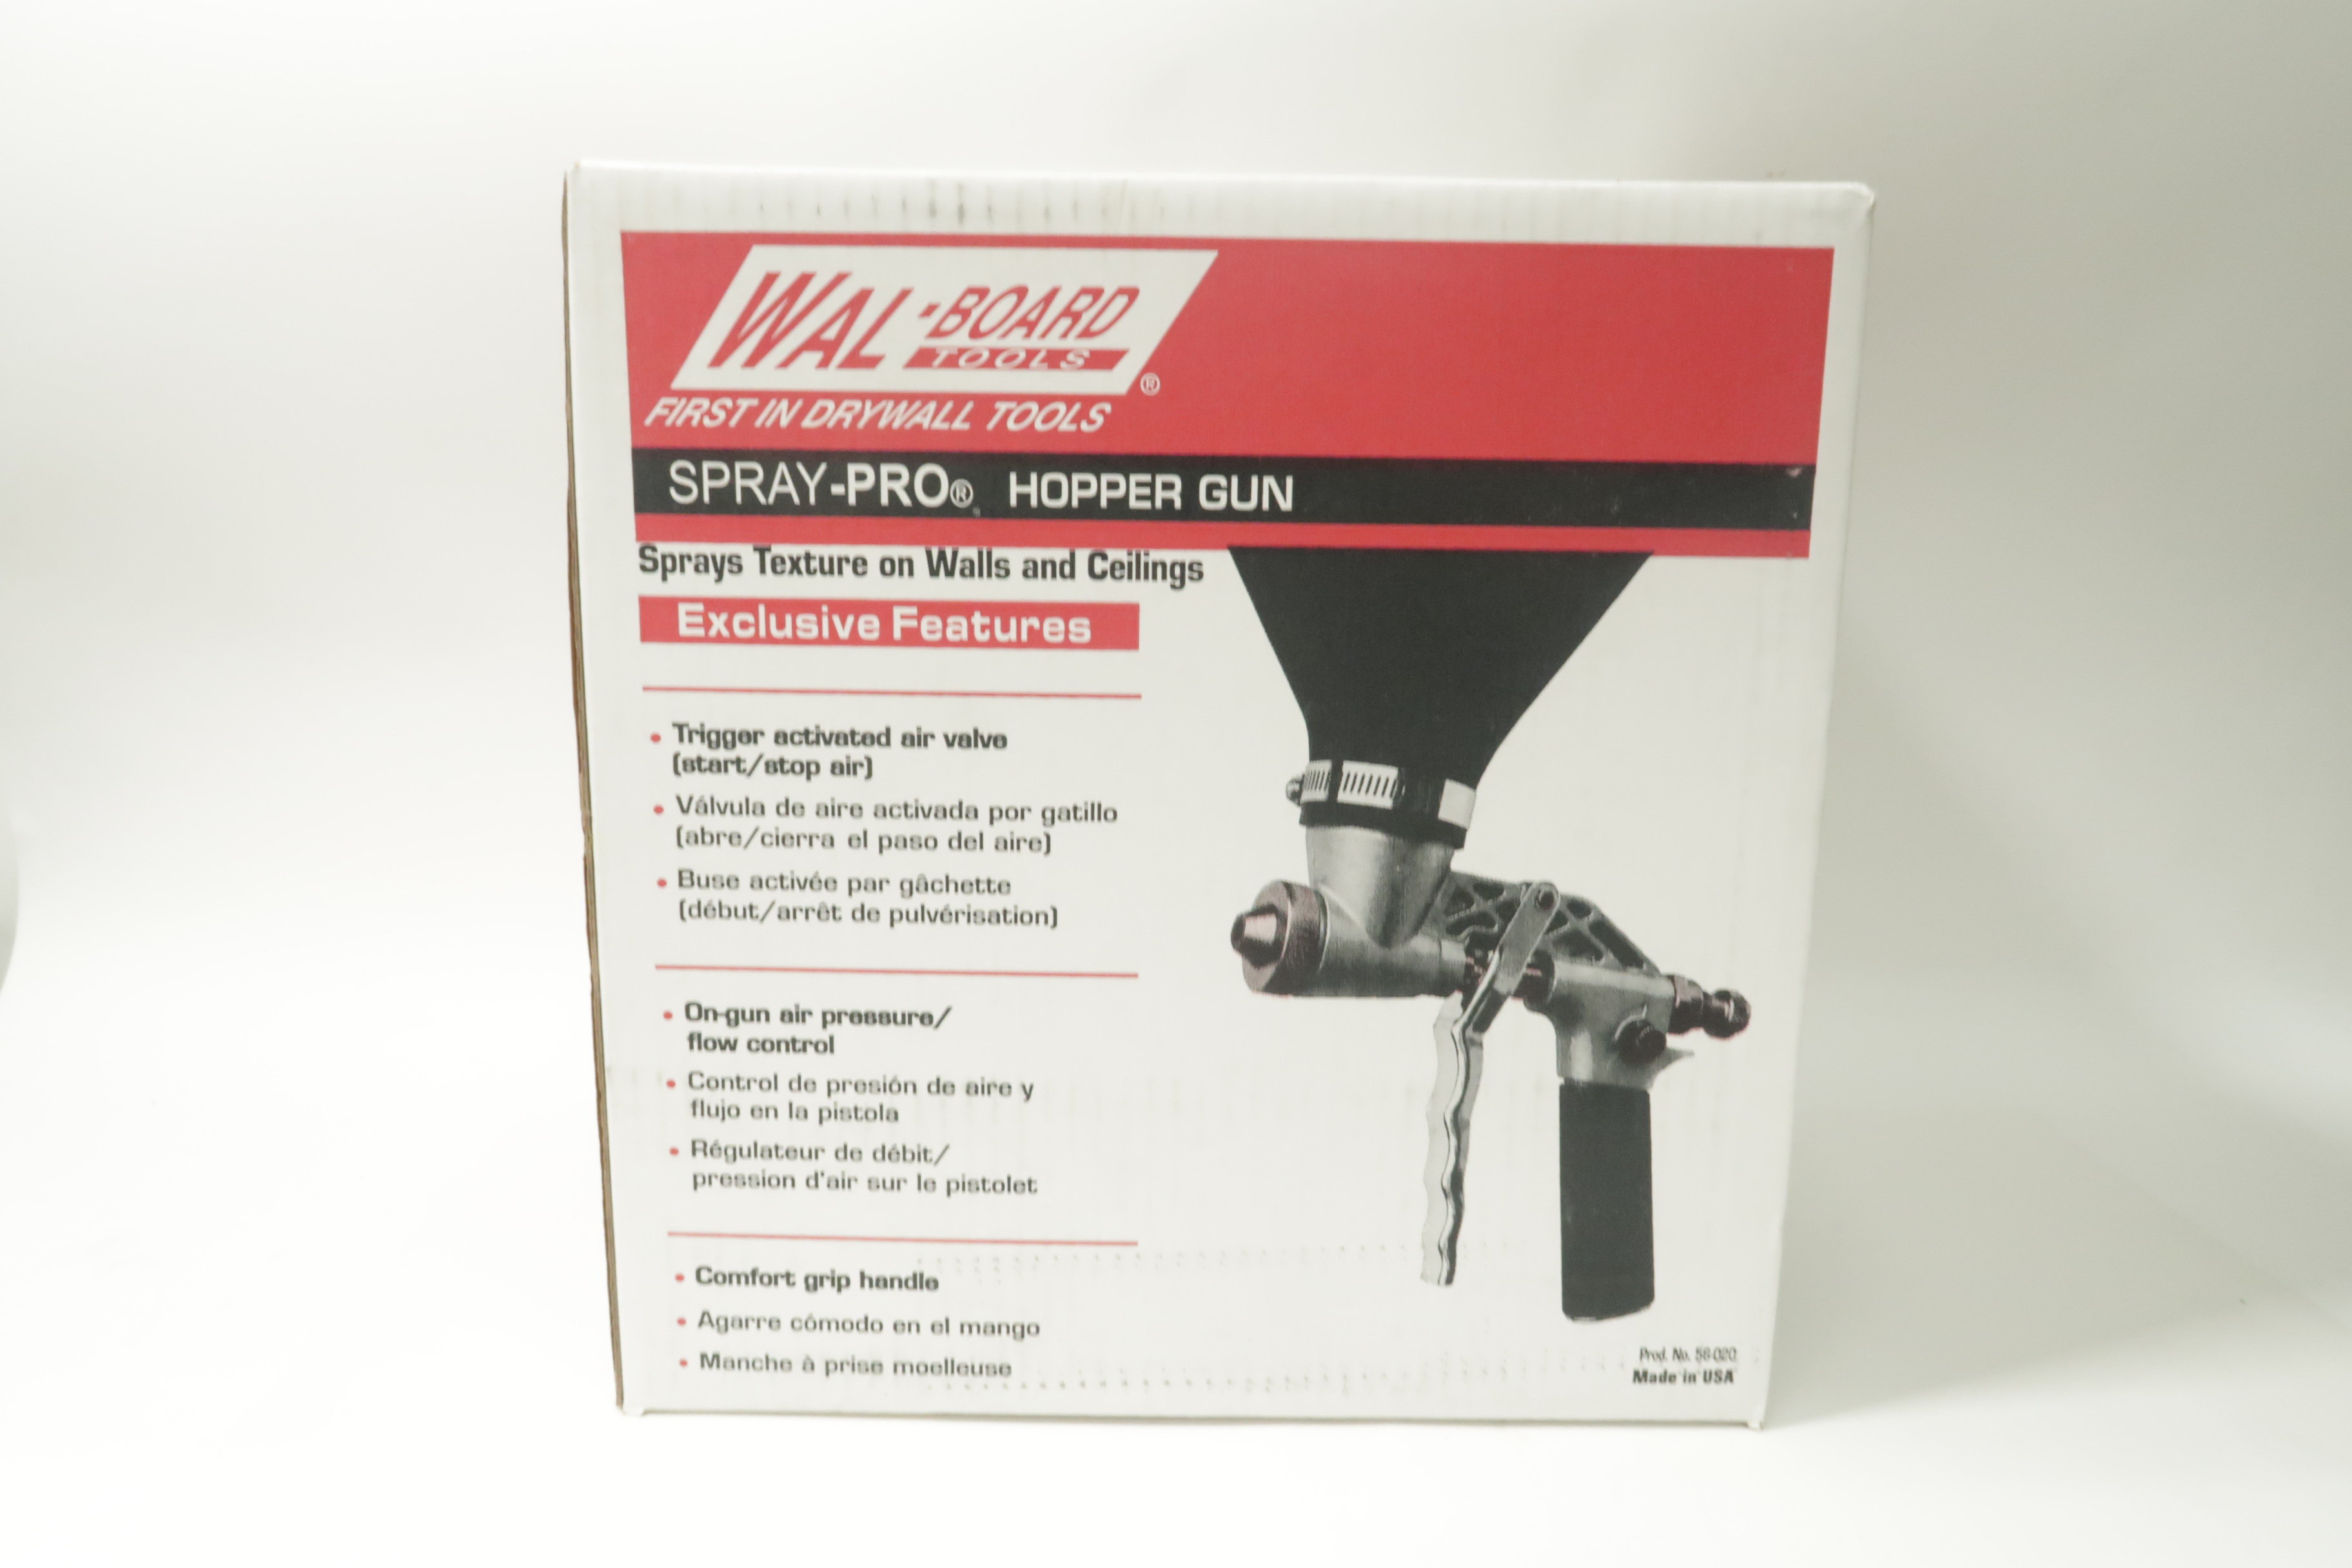
Credit: www.amazon.com
Advanced Tips And Tricks
When it comes to spraying texture, the amount of air pressure needed depends on the type of texture you are using. To determine the right pressure, it’s important to consider factors such as the size of the compressor and the nozzle being used.
By adjusting the pressure, you can achieve the desired texture and avoid inconsistencies.
Using A Continuous-flow Air System
To save time with texture spraying and avoid pattern inconsistencies, it is recommended to use a continuous-flow air supply system. This system provides a consistent, high CFM (cubic feet per minute) air supply, ensuring a smooth and even spray texture application. By using a continuous-flow air system, you can achieve professional-looking results with minimal effort.
Mastering The Art Of Texture Spraying
When it comes to mastering the art of texture spraying, there are a few key factors to consider. Here are some tips and tricks to help you achieve the desired texture:
- 1. Adjusting air pressure: The air pressure plays a crucial role in achieving the right texture. It is recommended to start with a low pressure setting and gradually increase it until you achieve the desired texture. Experiment with different pressure settings to find what works best for your specific project.
- 2. Selecting the right nozzle: The nozzle size will also impact the texture outcome. Smaller nozzles are ideal for finer textures, while larger nozzles are suitable for heavier textures. It’s important to choose the right nozzle size based on the desired texture and the type of material you are spraying.
- 3. Spraying technique: The way you hold and move the spray gun can affect the texture pattern. To achieve a consistent texture, hold the gun at a consistent distance from the surface and move it in a steady, overlapping motion. Practice your spraying technique on a test surface before starting the actual project.
- 4. Mixing the texture material: Properly mixing the texture material is essential for achieving a smooth and consistent texture. Follow the manufacturer’s instructions and use a mixing wand or a drill with a mixing attachment to ensure thorough mixing.
- 5. Practice and patience: Texture spraying requires practice and patience to achieve professional results. Take your time, experiment with different techniques and settings, and don’t be afraid to make adjustments along the way. With practice, you will become more confident in your texture spraying skills.
By following these advanced tips and tricks, you can elevate your texture spraying game and achieve impressive results. Remember to always prioritize safety and follow proper ventilation procedures when working with texture materials and spray equipment.

Credit: www.harborfreight.com
Frequently Asked Questions
How Big Of An Air Compressor Do I Need To Spray Texture?
For spraying texture, the size of the air compressor you need depends on the type of texture you are using. Generally, a compressor with a minimum of 6-8 CFM (cubic feet per minute) at 90 PSI (pounds per square inch) is recommended.
However, it is best to consult the manufacturer’s guidelines for the specific texture you are using to ensure you have the appropriate air compressor size.
How Much Should I Charge To Spray Texture?
To determine how much to charge for spraying texture, consider factors such as the size of the area, the type of texture desired, and the complexity of the project. Prices can vary greatly, ranging from $0. 50 to $3 per square foot.
It is recommended to assess the specific details of the job before providing an accurate quote.
What Is The Right Psi For Knockdown Texture?
The right PSI for knockdown texture can vary depending on the specific product being used, but generally falls between 20-50 PSI. It’s important to refer to the manufacturer’s instructions for the specific product you are using to ensure proper application and achieve the desired texture.
Adjusting pressure may also be necessary depending on factors such as humidity and ambient temperature.
What Size Air Compressor Do I Need For A Hopper?
For a hopper, you’ll need an air compressor with a minimum of 7 CFM at 40 PSI.
What Is The Ideal Air Pressure For Spraying Texture?
The ideal air pressure for spraying texture is typically around 20-30 PSI.
Conclusion
Achieving the right air pressure for spray texture is crucial for a successful and efficient project. It requires careful consideration of factors such as texture type, nozzle size, and compressor power. By using the right tools and techniques, you can achieve consistent and professional results.
Remember to always follow safety guidelines and experiment with different settings to find what works best for your specific project. With practice and patience, you can become a skilled texture sprayer and achieve the desired finish for your walls or ceilings.