Troubleshooting your Hoover Smartwash involves checking for clogs and ensuring proper settings. Often, simple adjustments can resolve most issues.
Navigating the world of carpet cleaners can sometimes feel like a daunting task, especially when your trusty Hoover Smartwash starts acting up. This machine, known for its efficiency in cleaning carpets, occasionally encounters problems that might stump even the most seasoned users.
Understanding the common issues and how to address them quickly becomes essential for maintaining a clean and inviting home. Whether it’s a matter of suction loss, water not dispensing, or the brushes not spinning, knowing the right steps to troubleshoot can save both time and frustration. This guide aims to provide you with straightforward solutions, ensuring your Hoover Smartwash continues to keep your carpets looking their best with minimal downtime.

Credit: hoover.com
Introduction To The Hoover Smartwash
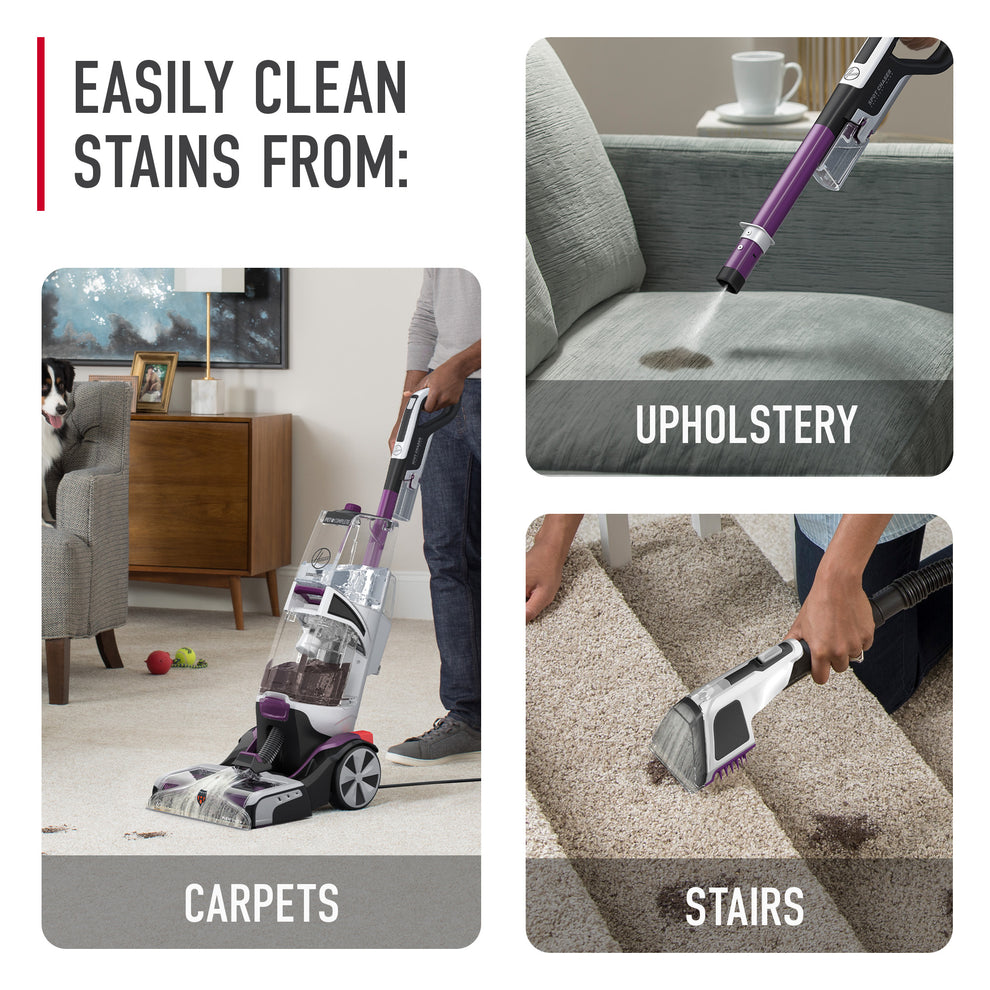
The Hoover Smartwash is a next-level carpet cleaner designed for ease and efficiency. It automates the cleaning process. This device ensures spotless carpets with minimal effort.
Features Of The Hoover Smartwash
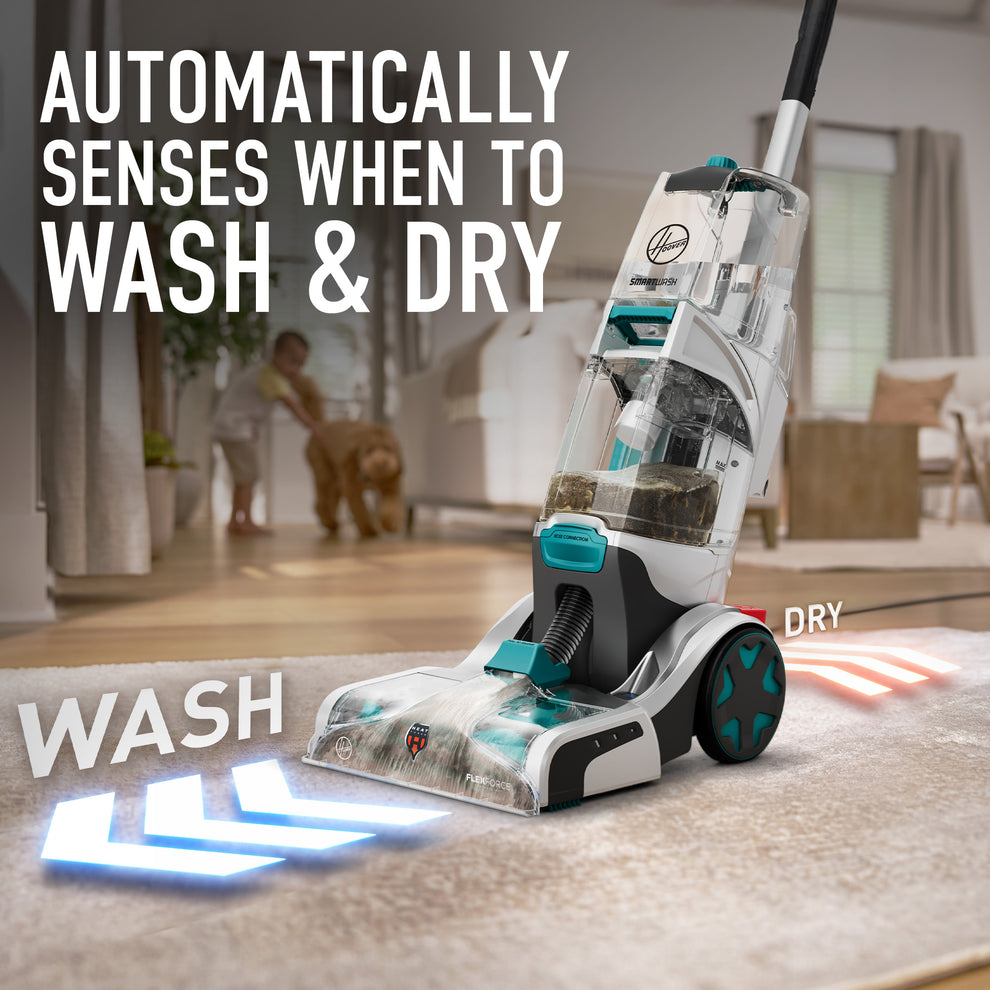
- Automatic Cleaning Technology: Push forward to clean, pull back to dry.
- Auto Mix: Precisely mixes and dispenses solution for optimal cleaning.
- Auto Dry: Delivers powerful extraction with HeatForce for faster drying.
- FlexForce PowerBrushes: Gently remove deep dirt, debris and pet messes.
Common Issues Users Encounter
| Issue | Solution |
|---|---|
| Machine not turning on | Check power cord and outlet for proper connection. |
| No solution dispensing | Ensure the tanks are securely attached and filled. |
| Poor suction | Clean the filter and check for blockages in the hose. |
| Brushes not spinning | Remove any hair or debris tangled around the brushes. |

Credit: hoover.com
Getting Started With Your Hoover Smartwash
Welcome to the essential guide on getting your Hoover Smartwash ready for action! Before diving into your cleaning routine, setting up your machine properly is crucial. Let’s walk through the initial setup and routine maintenance to ensure your Smartwash performs at its best.
Initial Setup Tips
- Unbox the Hoover Smartwash and lay out all parts.
- Check for any shipping tapes and remove them.
- Assemble the handle by clicking it into place.
- Fill the clean water tank with warm water and solution.
- Ensure the dirty water tank is correctly seated.
- Plug in your cleaner to a power outlet and switch it on.
Routine Maintenance Recommendations
| Component | Cleaning Frequency | Instructions |
|---|---|---|
| Nozzle | After each use | Rinse under water to remove debris. |
| Brush Roll | Monthly | Remove, clean with water, and let dry. |
| Filters | Every 3-4 uses | Clean with water and replace when dry. |
| Tanks | After each use | Empty, rinse, and air-dry both tanks. |
Remember to check the user manual for detailed steps and pictures. Regular maintenance keeps your Smartwash in top condition. Enjoy spotless floors with your Hoover Smartwash!
Troubleshooting Power Issues
Having trouble with your Hoover Smartwash not turning on? Don’t worry. Troubleshooting Power Issues can be simple. Follow these steps to fix the problem.
Checking The Power Source
First, make sure your cleaner is properly plugged in. A loose connection can cause power issues. Try these steps:
- Check the plug to ensure it’s firmly in the outlet.
- Look at the power cord for any damage. A damaged cord needs replacement.
- Try plugging into a different outlet. Sometimes, the issue is with the outlet, not the cleaner.
Resetting The Machine
If checking the power source doesn’t help, try resetting your Hoover Smartwash. Here’s how:
- Unplug your cleaner from the wall.
- Wait for 30 seconds. This wait is crucial.
- Plug the cleaner back in.
- Turn it on. Check if the issue is resolved.
These steps often fix power issues with the Hoover Smartwash.
Resolving Water And Suction Problems
Many Hoover Smartwash users face water and suction issues. This guide helps resolve them quickly.
Unclogging The Water Path
Debris and dirt can block the water path. Follow these steps to unclog:
- Turn off and unplug the cleaner.
- Remove the water tank.
- Check for clogs in the nozzle.
- Use a soft brush to clean the nozzle.
- Rinse the tank with warm water.
- Reassemble and test the machine.
Enhancing Suction Performance
Weak suction hinders cleaning. Boost your machine’s suction with these tips:
- Check for a full dirty water tank.
- Empty it if necessary.
- Inspect the filter for blockages.
- Clean the filter under running water.
- Ensure seals and gaskets are intact.
- Replace any worn-out parts.
Regular maintenance ensures optimal performance and longevity.
Brush Roll And Belt Complications
When your Hoover Smartwash vacuum isn’t cleaning as well as it should, check the brush roll and belt. Dirty or damaged parts can reduce performance. Let’s troubleshoot these key components.
Cleaning The Brush Roll
A clean brush roll spins freely, sweeping up dirt effectively. Here’s how to maintain it:
- Turn off and unplug the vacuum.
- Remove the brush roll following the user manual.
- Clear debris and hair.
- Wash with soap and warm water.
- Air dry completely before reinstalling.
Replacing A Worn Out Belt
A worn out belt can stop the brush roll from turning. Replace it with these steps:
- Unplug the vacuum for safety.
- Access the belt area as the manual instructs.
- Remove the old belt.
- Place a new belt over the motor shaft.
- Stretch it over the brush roll’s end.
- Reassemble and test the vacuum.
Solutions For Leaks And Drips
Dealing with leaks and drips from your Hoover Smartwash can be annoying. This section guides you on how to tackle these issues effectively. Keep your machine running smoothly with these tips.
Identifying Leak Sources
First, find where the leak comes from. Check these common areas:
- Tank connections
- Hose attachments
- The bottom of the machine
Water on the floor? Look at the bottom. Check the tank and hose if it’s higher.
Preventive Measures To Avoid Leaks
Stop leaks before they start. Follow these steps:
- Check your machine regularly. Look for loose parts.
- Tighten any loose connections. Use a wrench but don’t overdo it.
- Replace worn-out seals and hoses. They prevent leaks.
- Empty the tank after use. This keeps seals dry.
Keep your Hoover Smartwash in top shape. Take care of leaks fast.
Fixing Dispensing Issues With Detergent And Water
Hoover Smartwash users often encounter dispensing issues. These can disrupt cleaning routines. Quick and effective solutions are necessary to ensure a smooth operation.
Troubleshooting The Auto-mix System
The Auto-Mix feature precisely mixes detergent and water. Issues with this system can hinder cleaning performance.
- Check for clogs in the detergent container.
- Ensure the Auto-Mix dial is set correctly.
- Clean the nozzle with warm water if dispensing is uneven.
- Refer to the user manual for detailed instructions.
Manual Dispensing Techniques
Manual dispensing offers a backup solution. It’s useful when the Auto-Mix system fails.
- Remove the solution tank from the unit.
- Mix detergent and water according to the manual.
- Reinsert the tank and test the manual trigger.
- Contact customer support for persistent issues.

Credit: www.youtube.com
Electronic And Sensor Malfunctions
Smartwash carpet cleaners are known for their efficiency. Yet, electronic issues may arise. Sensors can also malfunction. The good news is, these problems often have simple fixes. Let’s explore how to reset electronic components and maintain sensors.
Resetting Electronic Components
Power glitches can cause your Smartwash to act up. A reset often fixes this. First, unplug your cleaner. Wait for about 60 seconds. Next, plug it back in. This simple step can clear up many electronic issues. It’s like a fresh start for your machine.
Cleaning And Maintaining Sensors
Sensors ensure your Smartwash runs smoothly. Dirty sensors may lead to problems. To clean them, first, turn off your cleaner. Remove the dirty water tank. Use a soft cloth to wipe the sensors. Be gentle to avoid damage. Regular cleaning keeps your Smartwash in top shape.
Professional Repair Vs. Diy Solutions
Deciding between professional repair and DIY solutions for your Hoover Smartwash can be tough. Your carpet cleaner is crucial for a clean home. Both paths have pros and cons. Let’s explore when to call experts and when to tackle issues yourself.
When To Seek Professional Help
Expert repair is best for complex issues. If you notice unusual sounds, leaks, or your Smartwash won’t start, a professional should look at it. They have the tools and know-how.
- Warranty concerns: DIY may void it.
- Safety risks: Professionals handle these.
- Diagnosis: They identify the real issue.
Diy Repairs: Tips And Warnings
DIY repairs can save money and time. Simple fixes like unclogging nozzles or cleaning filters are doable at home. Follow these tips and warnings:
| Tip/Warning | Details |
|---|---|
| Read the manual | It has crucial info for safe repairs. |
| Unplug before fixing | Prevents electric shocks. |
| Use right tools | Avoids damage to parts. |
| Keep track of parts | Ensures easy reassembly. |
| Watch repair videos | Guides you through steps. |
| Test after repair | Confirms the issue is fixed. |
Remember, if a problem persists after a DIY attempt, seek professional help. Mistakes can lead to more damage or even injury. Use the right parts and tools for a successful fix.
Maximizing The Lifespan Of Your Hoover Smartwash
Keeping your Hoover Smartwash in top condition is crucial.
Regular maintenance extends its life.
Let’s explore how to maximize your Smartwash’s lifespan.
Best Practices For Long-term Use
- Clean after each use.
- Empty and rinse tanks.
- Check for blockages regularly.
- Replace filters as needed.
- Store in a dry, cool place.
- Use official Hoover solutions only.
Understanding Warranty And Support Options
| Warranty Period | Support Options |
|---|---|
| Generally, 1 year | Online manuals, FAQs |
| Extended plans available | Customer service, repairs |
Check your warranty booklet for details.
Contact Hoover for assistance.
Frequently Asked Questions
Why Is My Hoover Smartwash Not Starting?
Ensure the machine is properly plugged in and the power switch is turned on. If the issue persists, check for a blown fuse or tripped circuit breaker.
Can I Fix Suction Loss On Hoover Smartwash?
Check the nozzle and brush roll for blockages or debris, and clean the filter to restore suction. Regular maintenance can prevent suction loss.
What Causes Smartwash Handle Leaks?
Leaking handles may be due to a loose connection or worn-out seal. Tighten any loose parts and replace seals if necessary.
How To Unclog A Hoover Smartwash?
Turn off and unplug the machine. Remove and rinse the nozzle, clean any debris from the brush roll, and ensure the hose is clear of obstructions.
Why Won’t My Smartwash Dispense Solution?
Verify that the solution tank is filled and seated correctly. Also, check for clogs in the spray nozzle and clean if required.
Is The Hoover Smartwash Belt Replaceable?
Yes, the belt is replaceable. Access the belt through the bottom of the machine and replace it with a genuine Hoover belt for optimal performance.
Conclusion
Navigating the intricacies of your Hoover Smartwash doesn’t have to be daunting. With the tips we’ve shared, tackling common issues is straightforward. Remember, regular maintenance and timely response to problems are key. For persistent hiccups, professional help is just a call away.
Keep your Smartwash in peak condition and enjoy spotless carpets with ease.


