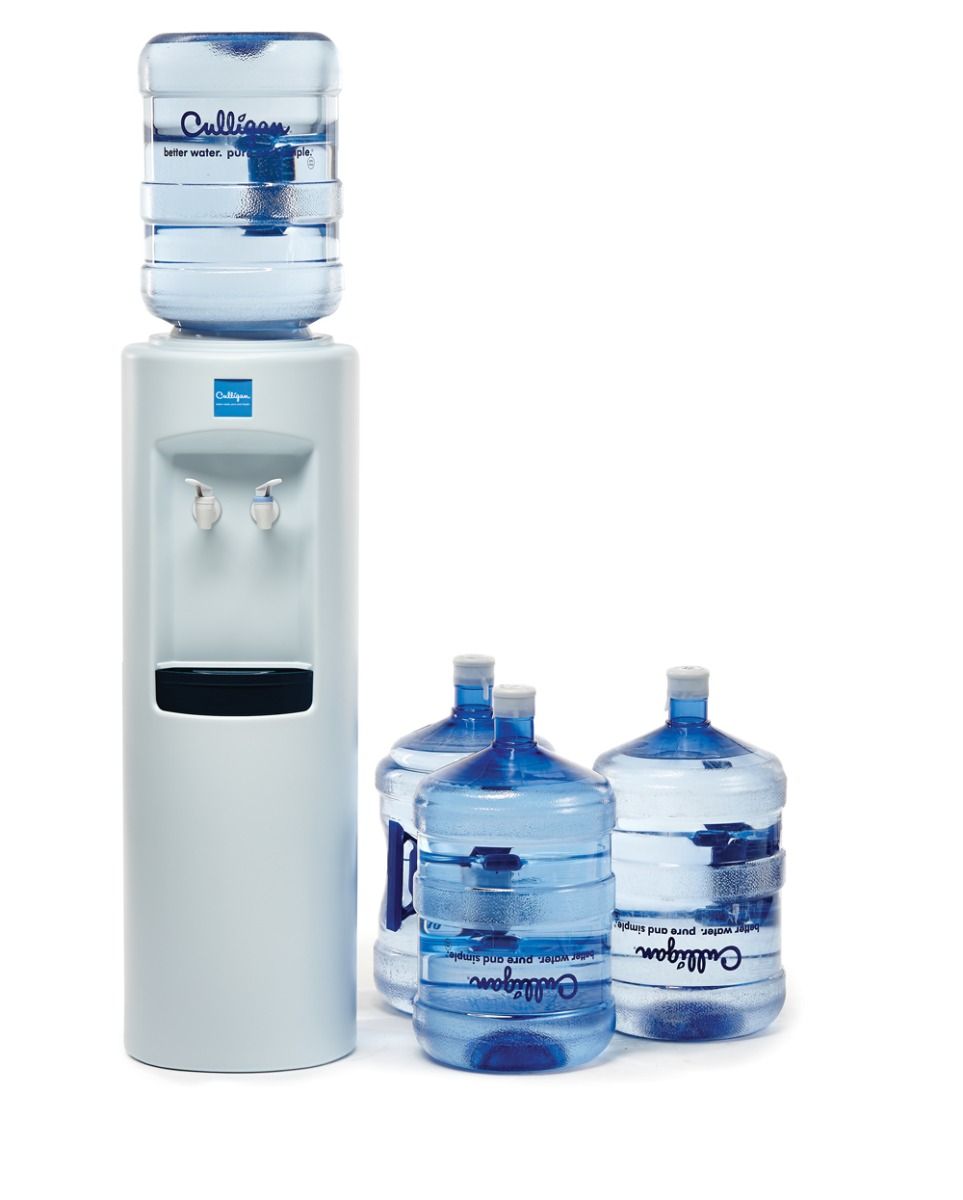
Culligan water dispensers offer convenience and reliable hydration. However, like any appliance, they can sometimes face issues.
In this guide, we’ll explore common problems with Culligan water dispensers and their solutions. Whether it’s a leak, no water flow, or strange noises, troubleshooting can save you time and frustration. Understanding the root of the problem helps you address it effectively.
This ensures your water dispenser works smoothly and provides clean, fresh water. Let’s dive into the world of Culligan water dispenser troubleshooting and get your appliance back on track!

Credit: www.youtube.com
Common Issues
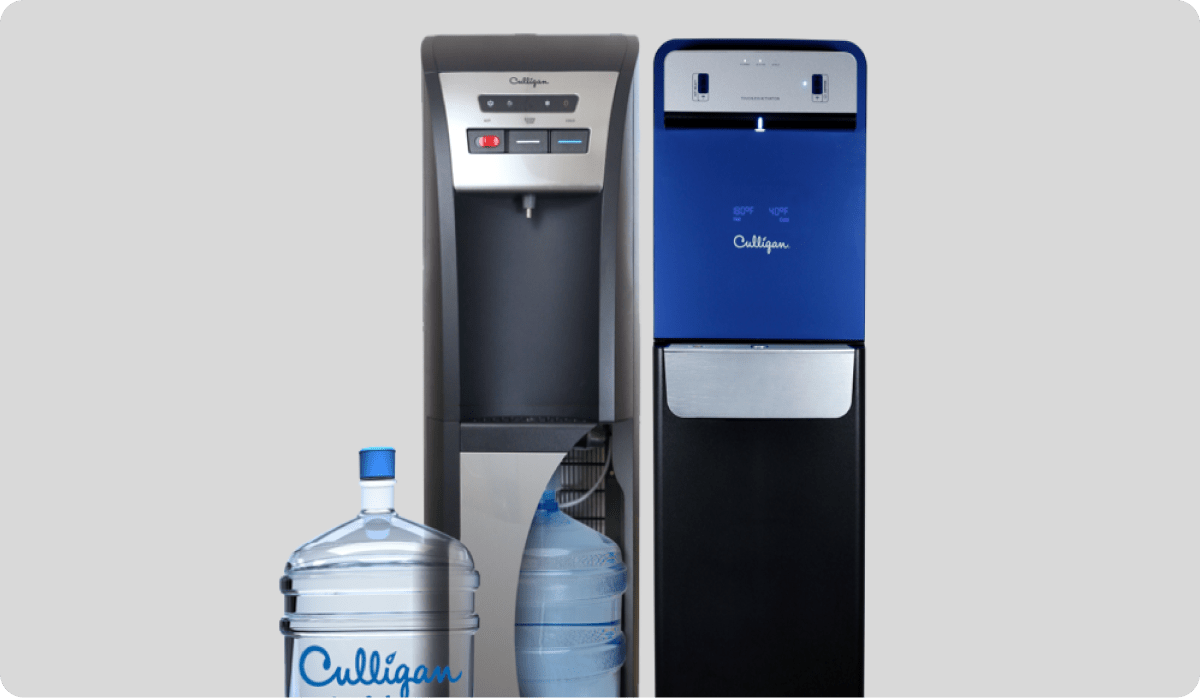
Culligan water dispensers are known for their reliability. But, like any appliance, they can face occasional problems. Knowing the common issues can help you fix them quickly. This section covers the most frequent problems with Culligan water dispensers.
No Water Flow
A common issue is no water flow. First, check the water source. Ensure the dispenser is connected properly. Then, verify the power supply. Unplug and replug the dispenser. Inspect the water filter. It might be clogged. Replace it if necessary. Also, check the water line for kinks. Straighten any bends. These steps usually resolve the problem.
Leaking Dispenser
Another frequent issue is a leaking dispenser. First, identify the source of the leak. Check the water bottle. It might be cracked. Replace it if needed. Inspect the dispenser valves. They can wear out over time. Tighten any loose connections. Also, examine the drip tray. Ensure it is not overflowing. Regular cleaning helps prevent leaks. Addressing these points can often stop the leakage.
Basic Maintenance
Basic maintenance of your Culligan water dispenser ensures it functions efficiently. Regular upkeep prevents common problems. It also extends the life of your unit. Let’s explore some simple steps for maintaining your dispenser.
Cleaning The Dispenser
Regular cleaning keeps your water dispenser free from bacteria. Start by unplugging the unit. Remove the water bottle and drain any remaining water. Use a mixture of vinegar and water. This helps in disinfecting the internal parts.
Wipe the exterior with a damp cloth. Pay attention to the spout. Buildup often occurs here. Use a brush to clean hard-to-reach areas. Rinse thoroughly with clean water. Let it air dry before reassembling.
Replacing Filters
Filters play a vital role in maintaining water quality. Check your manual for the recommended replacement schedule. Typically, filters need changing every six months.
Locate the filter housing. Twist and remove the old filter. Insert the new filter by following the arrow direction. Make sure it is securely in place. Run water through the new filter for a few minutes. This removes any debris or air bubbles.
Regularly checking and replacing filters ensures clean, safe drinking water. It also helps in maintaining the dispenser’s efficiency.
Temperature Problems
Having issues with the temperature of your Culligan water dispenser can be frustrating. Whether your water isn’t cold enough or not hot at all, understanding the possible causes can help you resolve these problems quickly. Let’s explore the common temperature issues and how to troubleshoot them.
Water Not Cold
If your Culligan water dispenser isn’t providing cold water, there could be several reasons behind it:
- Power Supply: Ensure the dispenser is plugged in and the power switch is turned on.
- Thermostat Settings: Check and adjust the thermostat to a colder setting.
- Ventilation: Make sure the dispenser has enough space for ventilation.
- Condenser Coils: Clean the condenser coils as dust and dirt can affect cooling.
If these steps don’t resolve the issue, the cooling system might be faulty. You might need professional service.
Water Not Hot
When your Culligan water dispenser fails to heat water, consider these troubleshooting tips:
- Power Connection: Verify the unit is properly plugged in and the power is on.
- Heating Switch: Check if the hot water switch is turned on.
- Thermostat: Adjust the thermostat to ensure it’s set to a higher temperature.
- Hot Water Tank: Ensure the tank is not empty and refill if necessary.
Persistent issues might indicate a problem with the heating element. Contacting Culligan support may be necessary.
Noise Issues
Experiencing noise issues with your Culligan water dispenser can be quite annoying. These sounds often indicate that something might be wrong with the unit. Understanding and troubleshooting these noises can help you maintain your dispenser effectively. Let’s explore common noise issues and their solutions.
Humming Sound
A humming sound from your Culligan water dispenser is usually caused by the compressor. This is common in hot and cold water dispensers. To fix this, ensure the unit is level and placed on a stable surface. If the noise persists, check if the internal parts are loose. Tightening them can reduce the humming.
Clicking Noise
A clicking noise often comes from the dispenser’s water valve. This sound occurs when the valve opens and closes. To address this, inspect the water lines for any kinks or blockages. Make sure the valve isn’t obstructed. Cleaning it might solve the issue.
Water Quality Concerns
Water quality is crucial for both health and enjoyment. A Culligan Water Dispenser can sometimes face issues. This section addresses common water quality problems. Let’s tackle strange taste and cloudy water concerns.
Strange Taste
A strange taste in water can be off-putting. Here are potential causes and solutions:
- Filter Issues: Check if the filter is old. Replace it if necessary. A worn-out filter can lead to a strange taste.
- Cleaning: Regularly clean the dispenser. Bacteria or mold can grow, affecting the taste. Use a mild detergent and water.
- Water Source: Sometimes, the water source itself can cause a strange taste. Ensure your water source is clean and safe.
Cloudy Water
Cloudy water can be alarming. Below are some common reasons and their fixes:
| Cause | Solution |
|---|---|
| Air Bubbles: Air can get trapped in the water. This is harmless and will settle over time. | Let the water sit for a few minutes. The bubbles will disappear. |
| Mineral Content: High levels of minerals can cause cloudiness. | Consider using a water softener or a different water source. |
| Dirty Dispenser: A dirty dispenser can lead to cloudy water. | Clean the dispenser thoroughly. Regular maintenance can prevent this issue. |
Addressing these concerns ensures your water is always fresh and clear. Regular maintenance and proper care are key.
Credit: www.culliganwater.com
Electrical Problems
Electrical problems can disrupt the smooth operation of your Culligan water dispenser. Identifying and solving these issues is crucial for maintaining a consistent water supply. This section will guide you through common electrical issues and their solutions.
Power Supply Check
First, ensure your water dispenser is properly plugged into a working outlet. A loose or faulty connection can prevent the unit from functioning. If the dispenser shows no signs of power, try another outlet.
Use a voltage tester to check the outlet’s power. If the outlet has power, but the dispenser does not turn on, the problem could be internal. Inspect the power cord for visible damage. Replace it if necessary.
If the issue persists, consider checking the fuse or circuit breaker. A tripped breaker or blown fuse can cut power to the unit. Reset the breaker or replace the fuse to restore power.
Resetting The Dispenser
Sometimes, resetting the dispenser can solve electrical problems. To reset, unplug the unit and wait for at least 10 minutes. This allows the internal systems to reset.
After waiting, plug the dispenser back in and turn it on. Observe if the power issue is resolved. If the unit still does not work, there may be a deeper electrical fault.
Check the control panel for error codes or signs of malfunction. Refer to the user manual for specific reset instructions based on the error code displayed.
If resetting does not solve the issue, professional service may be required. Contact Culligan customer support for further assistance. They can guide you through advanced troubleshooting steps.
Spout And Button Malfunctions
Spout and button malfunctions can disrupt the use of your Culligan water dispenser. These issues are common and can often be fixed with simple troubleshooting steps. Knowing how to address these problems can save you time and frustration.
Stuck Buttons
A stuck button is a frequent issue with water dispensers. Dirt or debris can cause buttons to stick. Clean the buttons with a soft, damp cloth. Ensure you dry the buttons completely. If they remain stuck, inspect the area around the buttons. Look for any obstructions. Remove any found carefully.
Another reason for stuck buttons is internal damage. Check for any cracks or damage. If found, contact customer support for assistance. Always handle buttons gently to avoid damage. Frequent cleaning can prevent debris buildup and sticking.
Malfunctioning Spout
A malfunctioning spout can hinder water flow. First, ensure the water supply is connected. Check for any blockages in the spout. Use a thin object to clear any debris. If the spout remains clogged, disassemble it if possible. Clean each part thoroughly.
Another issue could be a faulty spout mechanism. Inspect the spout for any visible damage. Replace the spout if necessary. Regular maintenance can prevent spout malfunctions. Always refer to the user manual for specific instructions.
Pro Tips
Ensuring your Culligan water dispenser works perfectly involves regular maintenance and care. To keep it running smoothly, consider these professional tips. These tips will help you maintain the dispenser’s efficiency and extend its lifespan.
Regular Inspections
Regular inspections are crucial for maintaining your Culligan water dispenser. Check the following components:
- Filters: Inspect and replace filters every six months.
- Water Lines: Look for any leaks or blockages in the water lines.
- Dispensing Nozzles: Clean the nozzles to prevent clogs and ensure clean water.
These simple checks can prevent major issues. Regular inspections ensure your dispenser stays in top condition.
Professional Servicing
Professional servicing is essential for the long-term health of your water dispenser. Consider the following steps:
- Annual Check-ups: Schedule a professional service once a year.
- Deep Cleaning: Professionals can perform thorough cleanings that you might miss.
- Technical Repairs: Experts can identify and fix any technical issues early.
Professional servicing helps catch problems early. It keeps your water dispenser functioning efficiently.
Credit: www.culligan.com
Frequently Asked Questions
How To Fix A Leaking Culligan Water Dispenser?
Check the water bottle seal. Tighten connections. Replace damaged parts if needed.
Why Is My Culligan Water Dispenser Not Cooling?
Check if it is plugged in. Ensure the cooling switch is on.
What Causes My Culligan Dispenser To Make Noise?
It could be a loose part. Tighten all screws and connections.
How Do I Clean My Culligan Water Dispenser?
Unplug the unit. Use mild soap and water. Rinse thoroughly.
Why Is My Culligan Water Dispenser Not Dispensing Water?
Check the water bottle. Ensure it is properly seated and not empty.
Conclusion
Solving issues with your Culligan water dispenser can be easy. Follow the steps mentioned to fix common problems. Routine maintenance ensures your dispenser works efficiently. Clean it regularly to prevent problems. Always use recommended parts for repairs. If issues persist, contacting Culligan support is wise.
They can provide expert help. A well-maintained dispenser offers fresh, clean water anytime. Keep your water dispenser in top shape for your family’s health. Happy troubleshooting!